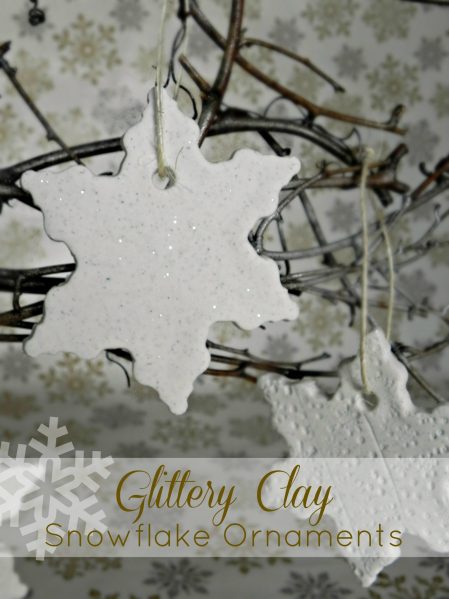
This Christmas I have been going back and forth trying to decide if I want to make this year’s decorations colorful and glittery or sophisticated and neutral. When I sat down to make some handmade ornaments, I decided to take the best of both worlds to create these Sparkly Clay Snowflake Ornaments. Depending on what baking materials you keep around the house, you may be able to make a batch of ornaments for the price of some dollar store glitter!
Project estimate:
- Corn starch, on hand or $1
- Baking soda, on hand or $1
- Glitter, on hand or $1
- Water, on hand
- Pot, on hand
- Rolling pin, on hand
- Cookie cutters, on hand or $1
- Rubber stamps, pine branches, etc. – optional
- Drinking straw, on hand
- Oven, on hand
- Twine or ribbon, on hand or $1
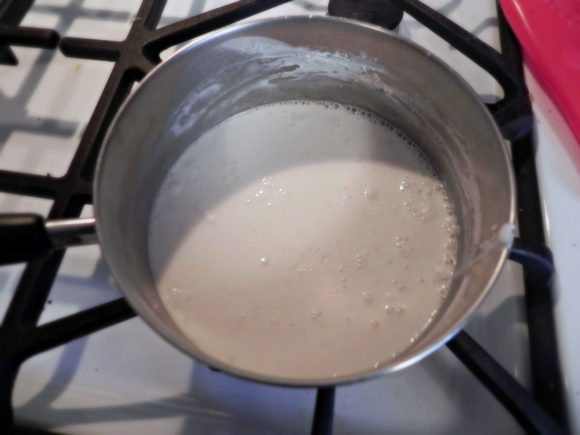
I used a clay recipe from The Woodside Kitchen to make the base for my ornaments. Just mix 1/2 cup cornstarch, 1 cup of baking soda, and 3/4 water in a pot, and cook it over medium heat.
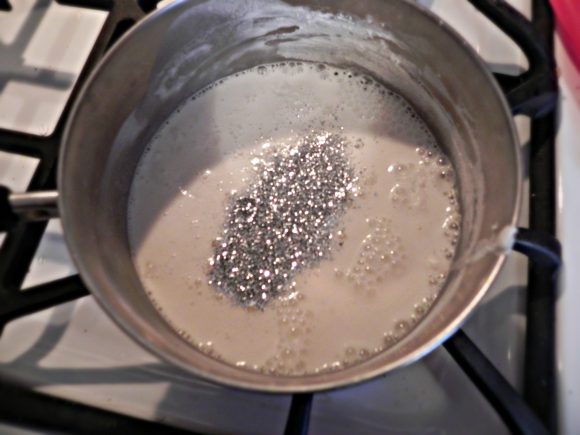
Add in the glitter of your choice, as much as you would like! Stir the glitter through the mixture.
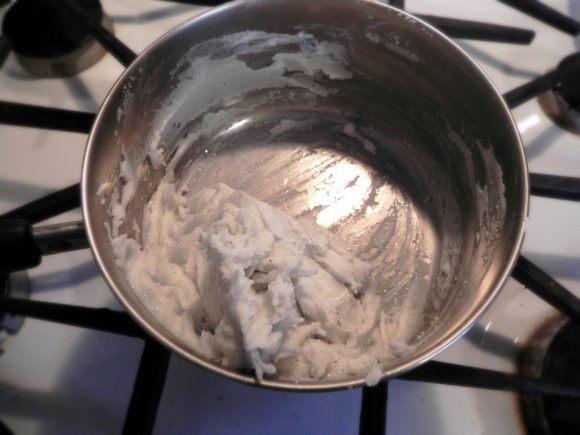
Keep stirring and the mixture will thicken up. After a few minutes of stirring, you should be able to form it into a globby ball with your spoon. Remove it from the heat and cover the pot with a moist towel.
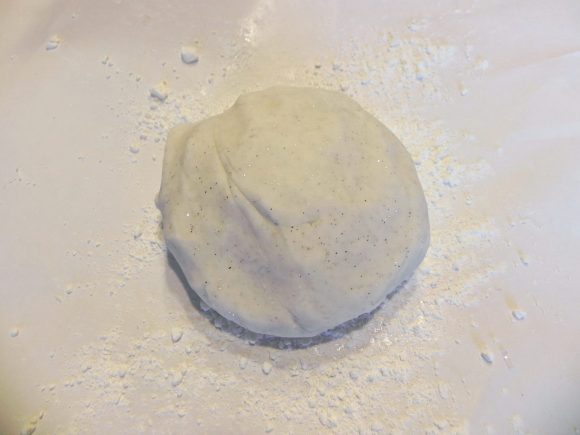
After the dough has cooled, cover your work surface with a dusting of corn starch. Form the dough into a ball. From here on out, you will basically be acting like you are making cut-out cookies!
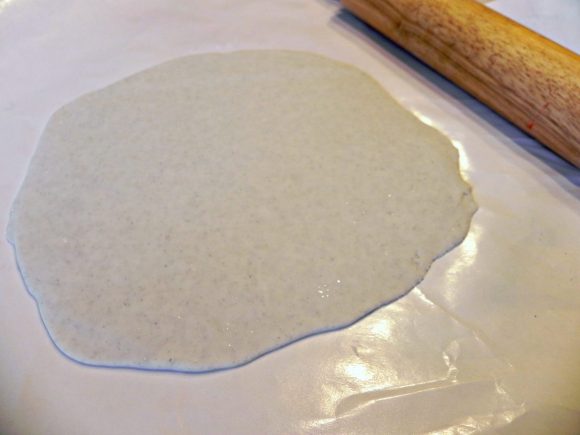
Roll the dough out until it is about 1/4 inch thick. Do your best to keep the dough’s thickness consistent, as it will help your ornaments dry more evenly.

You can see from this close-up that some of the glitter makes its way to the surface and catches the light.
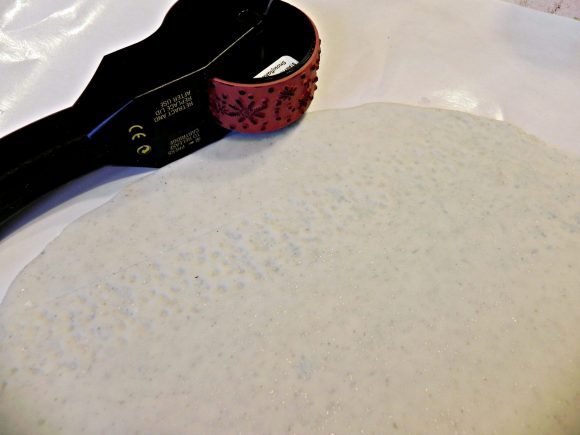
You can choose to leave the surface of your dough smooth, or you can make impressions in the dough with clean rubber stamps, small objects, pine branches, your children’s hands… just about anything that will leave a clean impression. Use a straw to punch a small hole near the top of each ornament so you can hang it later.
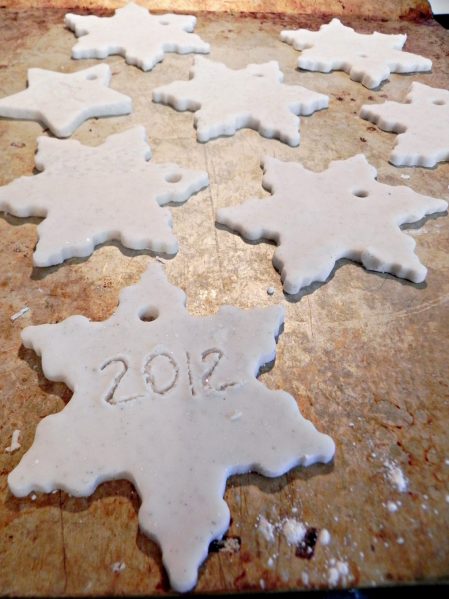
Use your cookie cutters to cut out shapes and gently lift them onto a cookie sheet. After each round of rolling and cutting, you can ball the remnant of dough up and roll it out again! You can get quite a few ornaments out of just one batch of dough.
Bake the ornaments in a 175 degree oven for anywhere from 30-60 minutes, flipping them over partway through the baking time. Check on them occasionally to make sure you aren’t over-baking them. The ornaments should be hard to the touch, but not crumbly.
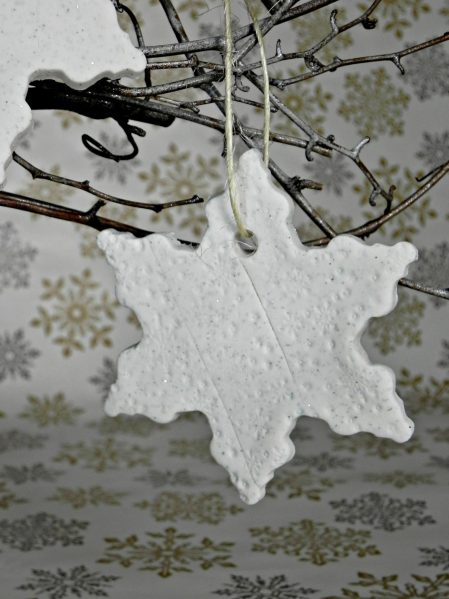
When the ornaments are finished and cooled, you can string ribbon or twine through the holes and hang them on your tree! As you can see from this picture, any impressions you make in the clay show up much better after you bake the ornaments.
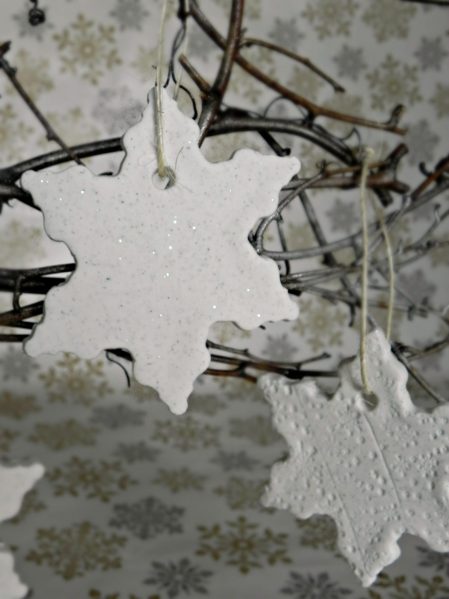
I think these ornaments are a perfect touch of class and shimmer. If you would like more color on your ornaments, you can paint the baked ornaments with acrylic paint. You could even add more glitter if you’d like.
I think making handmade ornaments is fantastic family activity. My mom, son, and I made cinnamon applesauce ornaments last year, and these clay ornaments are just as kid-friendly!


10 Comments
Nichole
This looks like so much fun! I was thinking of doing this with my daughter’s kindergarten class. Do you know how long the dough stays flexible/moldable? I wonder if I could make the dough at home and take it to the school and let them mold/cut out, then bring home and bake? Thanks!!
Jessica Hill
Nicole, I think if you were able to keep it moist (maybe in a plastic storage container wrapped in a wet towel), it would stay pliable. If it started to dry out, you might have trouble getting it to hold together enough to roll it out.
Julie
This looks like so much fun =) I’m going to make them this weekend with the kiddos.
mel mccarthy
Such pretty ornaments & a great recipe. Love that it’s gluten-free and the glitter is a lovely addition. Thanks!
Bella
These are so cool. Love the idea of adding glitter!
Karen
Thank you so much for this idea! I’ve been making the cinnamon-applesauce ornaments and these will complement them perfectly! Karen
Pattie
I made these tonight with a 1 y.o., (2) 3 y.o’s, twin 4 y.o’s and (2) 6 y.o. And there was something that everyone of them could do. We made close to 50 for everyone’s teachers & family members. Great craft, thank you!
JoLynn
Will these last for more than one season?