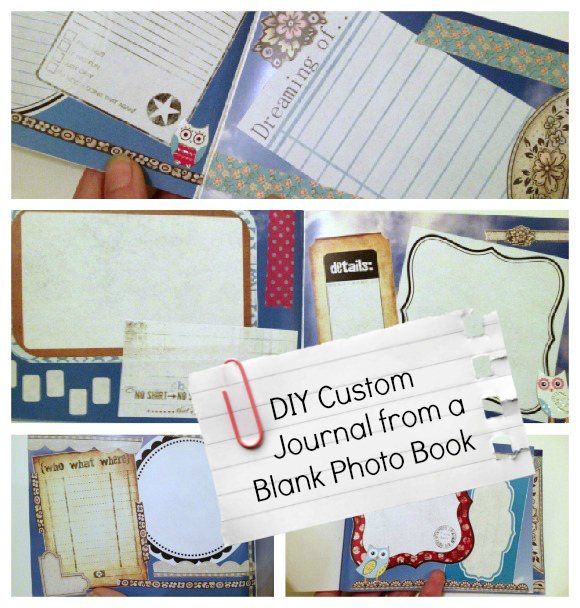
I’m always getting codes for free photo stuff from places like Walgreens and Shutterfly, but I usually don’t have any photos that I need to have printed out. Not wanting to let those codes go to waste, I decided to find creative ways to use them. When I got a code for a free 4×6, 20-page photo brag book (all I had to pay was shipping), I had a brilliant idea. I have a friend who writes a lot of poetry, and I was inspired to turn it into a 20-page custom journal for her to write in!
Project estimate:
- Photo book, $2 and up
- Printable scrapbook journaling tags, free
- Glue, on hand
- Washi tape, stickers, or other embellishments (optional), on hand or $1 and up
Total: $2 and up
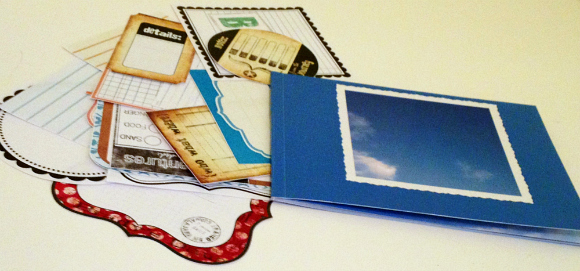
The photo book I ordered is usually about $7 plus about $2 shipping; since I had a code to get it for free, I only paid about $2 for mine! I also frequently get codes for 8×8 photo books for just the cost of shipping, so eventually I plan to make a larger version of this project! Since I wanted my photo book to be full of scrapbook-paper-like backgrounds, I spent a sunny day taking pictures of the sky that I had printed in my book. You can also choose from a variety of different backgrounds for the photo book pages and not have any pictures printed in the book at all!
To add text areas to the pages of the photo book and turn it into a journal, I used free printables. There are tons of different free scrapbook journaling tags available around the web that you can use to give your journal a totally custom look! I’ve compiled a few links at the end of this post to get you started.
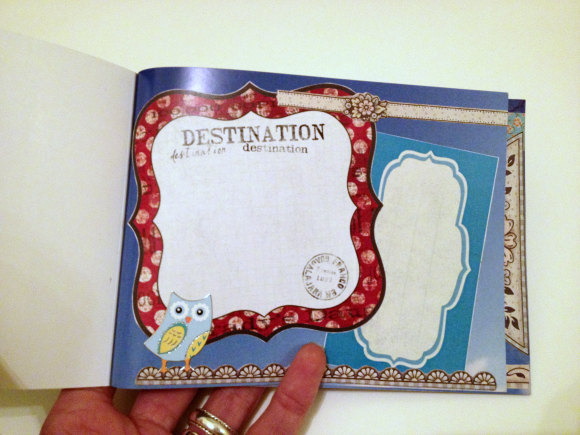
Once you’ve cut out all of your printable journaling tags, start arranging them and gluing them into the pages of the book. I experimented with a few different glues and found that spray adhesive gave me the best results. (Make sure you use permanent spray adhesive, not repositionable adhesive, or the journaling tags may peel off!) If you want to dress up the pages even more, use washi tape, stickers, or other embellishments to fill out the space. Make sure you use flat items and avoid any dimensional elements so that the pages remain easy to write on.
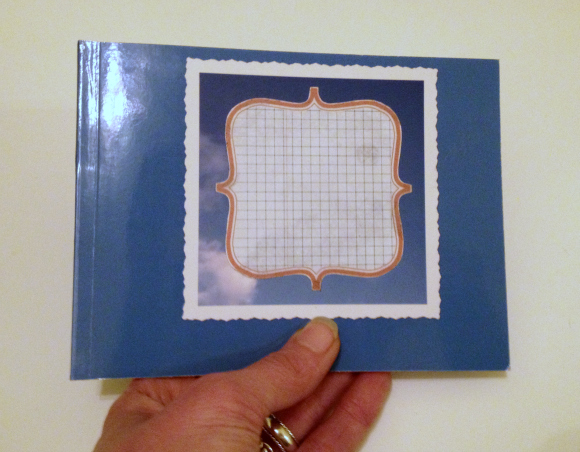
Don’t forget to put a journaling tag on the cover as well!
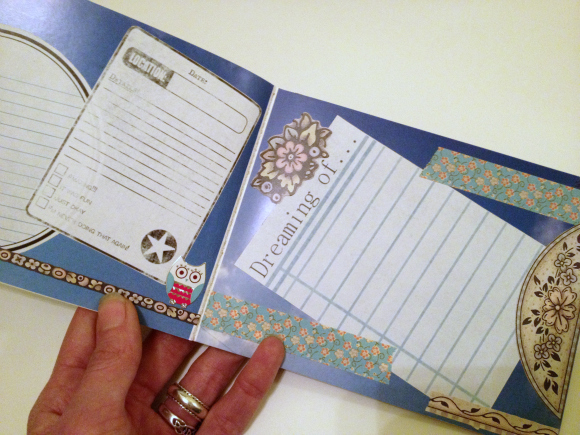
I am so excited to give the journal to my friend! It is so perfect for her poetry, and it’s as one-of-a-kind as she is!
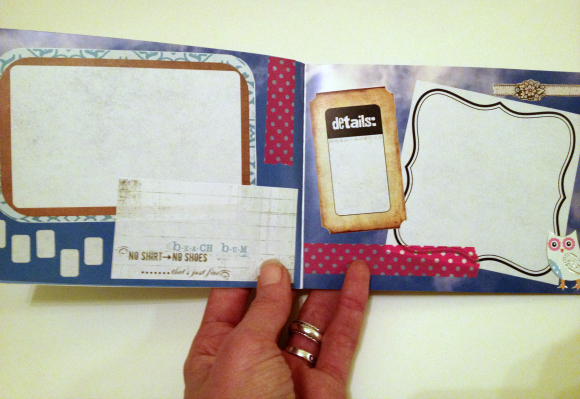
I can just imagine what it will look like filled with her poems, thoughts, and doodles!
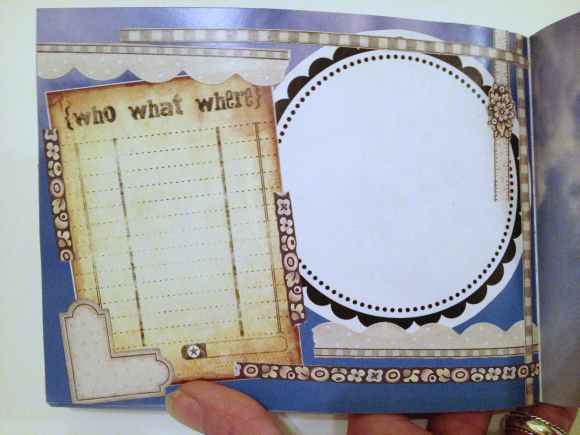
Need some journaling tags to get started on making your own journal? Here are a few links:
- Yarn-Trimmed Scrabook Journaling Tags by Dollar Store Crafts
- Doodle Scrapbook Journaling Tags by Simply Scrabooking Now
- Basic Journaling Blocks by Creating Keepsakes
- Free Printable Journaling Blocks Assortment by Sweetly Scrapped
- Lovely Labels in Warm Colors by Mrs. Greene
- Scallops and Dots Journaling Tags by Mrs. Greene


3 Comments
Eren
It is a very cute journal, thank you for the tutorial:)
Sue
Very clever idea! Thanks for the idea.