Hello there! I’m Lindsey from toddlindsey.com. (I know, how original, right?) I’m an art teacher that spends ALL my free time crafting, cooking, baking, making miniatures and in general, just detoxing myself from kids and school. I love the creative process of making. Anything. I especially love when that process results in food. Or really beautiful things. Or cute things.
I guess I should share who Todd is, since he is the other part of our blog name. :) Todd is my very outgoing, comic-loving husband of a little over one year. Todd and I have three children… I mean pets. Lily and Jose are cats and Banner is our beagle! They all turned six at the beginning of the year. (No, that’s not a coincidence; I just made all their birthdays at the same time for the sake of my sanity… Can I do that for our future kids?)

Feel free to visit us at toddlindsey.com for easy and yummy recipes, DIY home decor, room reveals, dollhouse miniatures and more!
Now on to the mini stuff.
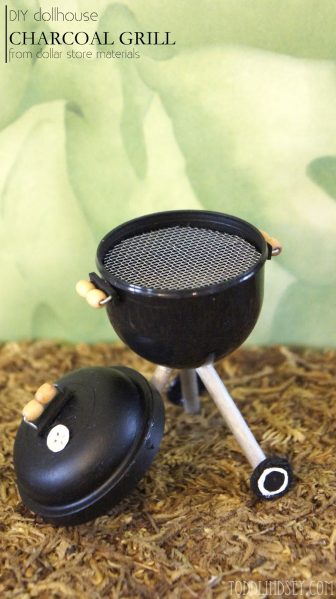
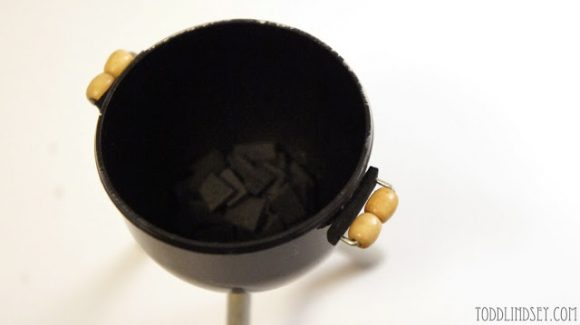
I am SUPER excited to share this tutorial with you!!! Summer is just around the corner and I am sure your mini people (*ahem* dolls) are just wishing they had a nice charcoal BBQ grill.
And the best part? This grill is really cheap to make! Check out the materials list. I had most of the stuff laying around. The only item I had to purchase was the toy container. If you need to go out and buy any of these materials, check your local dollar store first.
Project estimate:
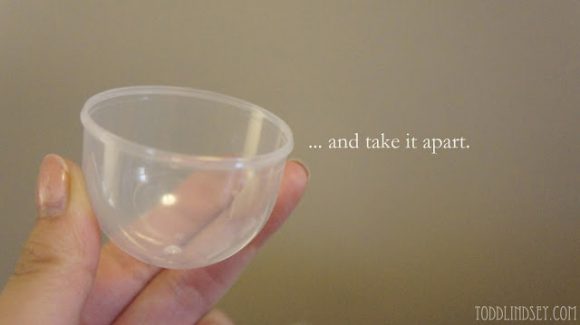
- Plastic container from candy/toy machine, on hand or $0.25
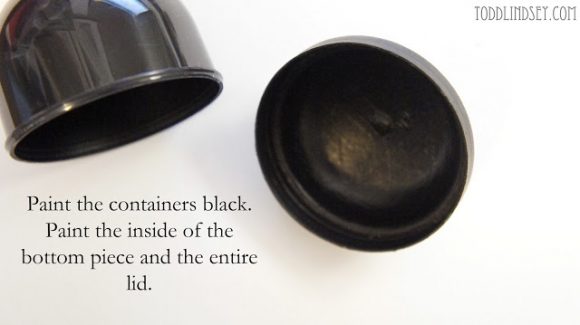
- Black paint, on hand
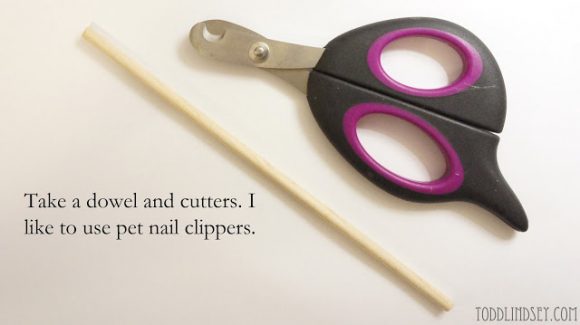
- Pet toenail clippers or cutters for dowel rods, on hand
- Dowel rods or thick cocktail skewers, on hand or $1
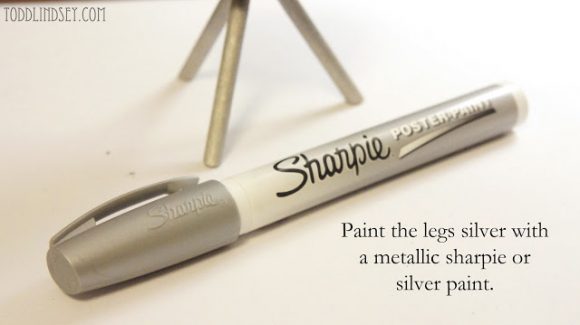
- Silver metallic sharpie or silver paint, on hand
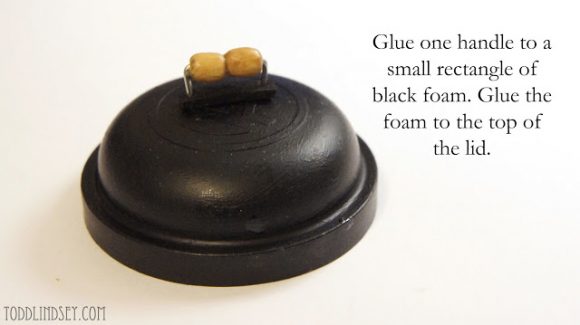
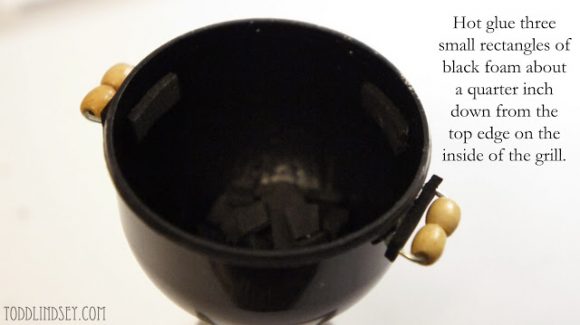
- Black foam, on hand or $1
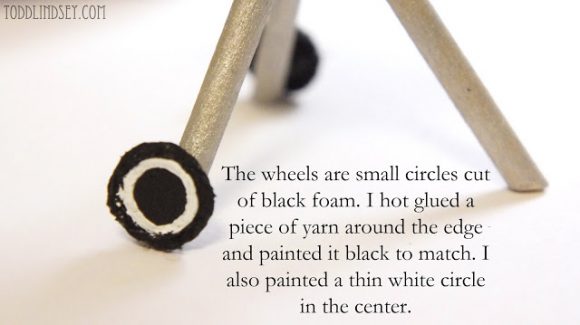
- String, on hand
- White paint, on hand
- Aluminum screening or toothpicks, on hand or $1 and up
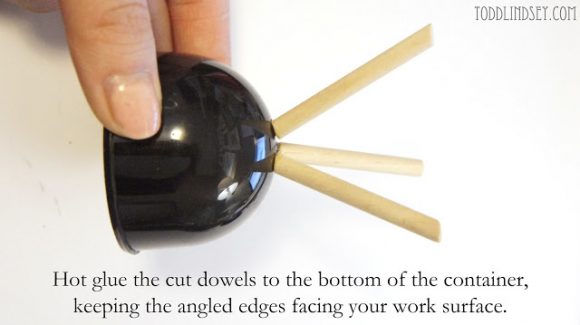
- Hot glue, on hand
- Paper clip or silver wire, on hand
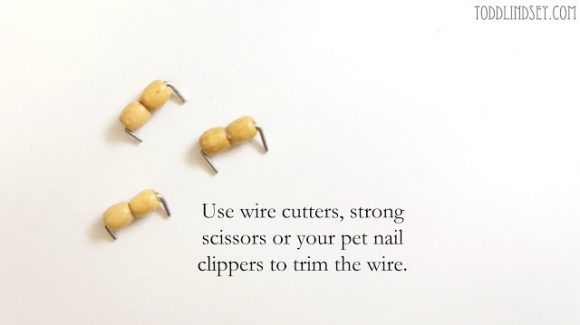
- Wire cutters, on hand
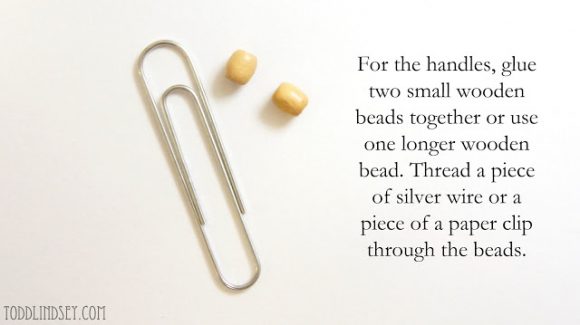
- Wooden beads, on hand
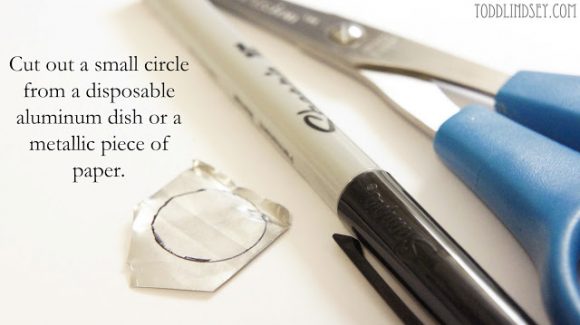
- Disposable aluminum serving ware or silver cardstock, on hand
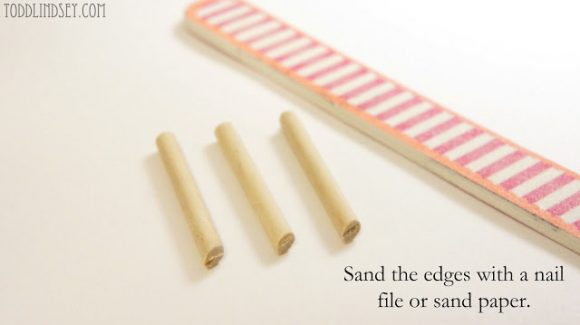
- Nail file or sandpaper, on hand
- Ultra or extra fine black sharpie, on hand
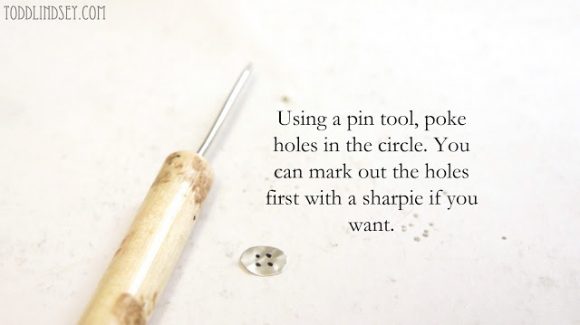
- Pin/needle tool, on hand
Total: Free and up!
Let’s get started!


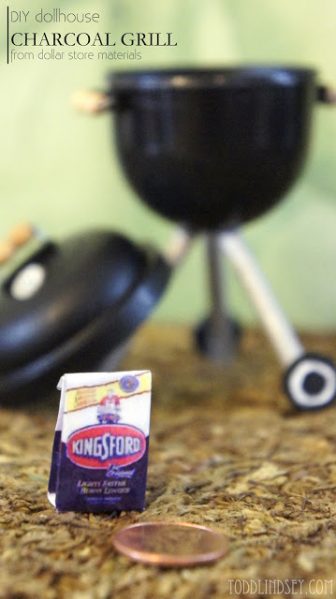
Ta-da! Now your dollhouse is ready for summer! I just can’t wait to get my hands on some polymer clay to make some mini hotdogs and burgers! :)
Thanks for reading through this tutorial. If you enjoyed it, come check out our blog! We have quite a few dollhouse DIYs along with some other dollar store/pocket friendly crafts.
I look forward to having you visit toddlindsey.com soon!


15 Comments
EDITH
This is ABSOLUTELY the cutest thing I have seen in years!
Kelsy
ADORABLE! OMG!
Shannon
I love this!!!!
Andrea R
Cute! It might be easier to use a little screen that goes in a faucet!
Chrissy Floyd
So cute! I used to make little magazines for my Barbies when I was little. I would use those subscription cards that had pictures of their magazines on it and cut the picture of the magazine cover. Then I would use regular paper and make “pages” out of them and glue the magazine cover to them. Instant mini-magazines!
Yvonne @ Dress This Nest
Wow! VERY impressive. If you ever have a daughter, she will be the luckiest little girl alive. Dream dollhouse!
elnisi
this is so cute,just shows the imagination ‘out there’
for a long time I have collected things in zip loc bags, I call
them the scavenge bags. there are all sorts of things you come across
from the mail, thick sturdy card board,foam shapes,plastic containers
like this one was made from,even containers from medicines,inhalers.
sometimes when you find it the future use is not obvious,so scavenging is great.also when you find something at the dollar store you have a place to put it so when a use is found you know where to find the ‘find’.
elizabeth s
Hello Lindsey! So nice to meet your husband after having heard so much of him. You two make a very handsome couple! Your little kettle BBQ is absolutely wonderful! I like the size of it and the way you used the pet nail clippers which I would never have thought of Perfect! The entire project is well done and More than the sum of its parts. A well done and delightful posting!
elizabeth
Terry
This is just too cute! And so imaginative! Absolutely adorable : )
Marisa Waid
That is the cutest thing. How creative. Love it.
Ruth S.
Oh my! You are so creative to come up with idea!
kat
i saw a version of this project in dollhouse miniatures magazine upteen years ago and even saved some of my 2 boys gumball machine containers back then(they are 22 and 24 now!lol),but never got around to making any.at this point i now have 8 started,to probably make little vignettes to give as gifts on the 4th of july.thank you for a wonderful presentation,with very easy to follow photos and instructions.fun,fun,fun!kat
Marlene
Hello I thought this was so cute but i would like to know were you got the printable for the kigsford charcoal please, it makes the grill just stand out that much more. Thank you for sharing all your great ideas.
T
Great Imagination! Kept crafting!!!
Barbara
I made this in a craft class. Cutest thing ever. For the coals, however, use match heads. Paper matches. Some burned, some not. Brush them with a coating of glue and it will look like burning embers.