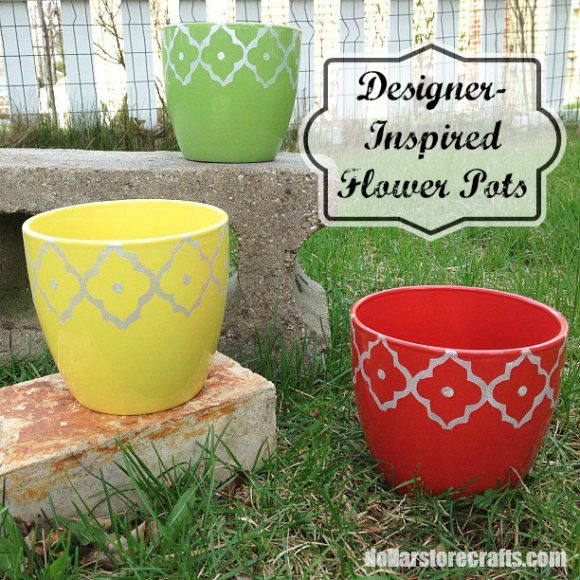
Have we mentioned lately how much we love pretty flower pots? They’re such a fun way to add personality to a space, both indoors and outdoors. But the prettiest and fanciest of the flower pots always cost more. Love the look but don’t have the spare cash to throw around on planters? Grab some plain, inexpensive pots and give them a makeover instead! (The bonus? Not only will you save money, but you can guarantee that nobody else in the neighborhood will have the same ones lining their porch!) Inspired by some pricey designer flower pots, our alternative costs a fraction of the price and packs just as much personality!
Project estimate:
- Flower pots, $1 and up
- Paper and/or cardboard, on hand
- Sharpie, on hand
- Contact paper, on hand or $1
- Painter’s tape, on hand or $1 and up
- Hole reinforcement stickers, on hand or $1
- Paint, on hand or $1
Total: $1 and up

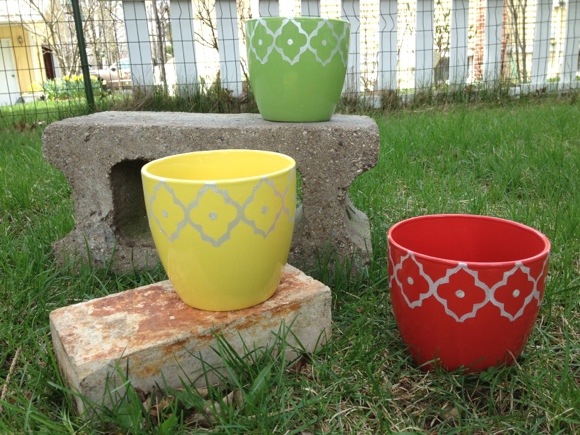
It started when I came across a set of designer flower pots in a recent issue of Better Homes and Gardens. Curious about them, I looked them up online, and discovered that the set of three retails for upwards of $100. Gulp! And then I remembered seeing some pots in similar shapes and colors at Dollar Tree. I made an immediate run to the store to grab a few of them so I could make my own set!
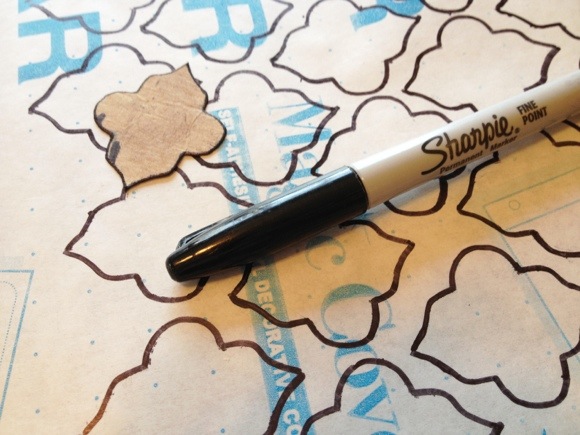
I like the general idea of the flower pots, but the design on them wasn’t quite “me” – so I changed it up. I decided I wanted a Moroccan-inspired shape, so I did a Google image search for “Moroccan pattern” and found one I liked, which I printed and cut out to make a template. To make the template hold up better through the entire project, I traced it onto a piece of cardboard out of the recycling bin and cut it out. Then I traced it onto the back side of a roll of contact paper over and over and over again.
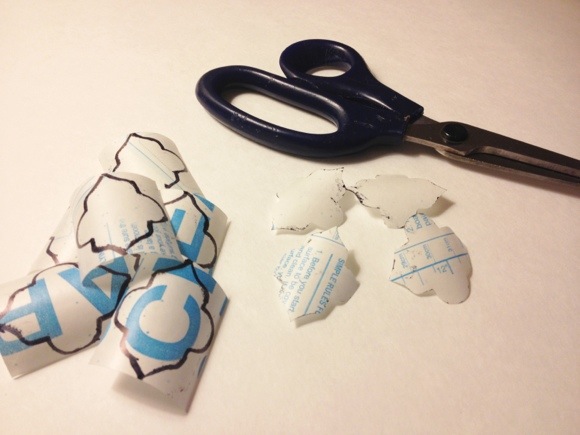
I’ll warn you, this part of the process is tedious. In order to make it all the way around all three pots I had to trace and cut out 60 of those little buggers. That’s a lot of tracing and cutting. I’m not much for making things perfect and fussy, so I didn’t bother with absolute perfection on my cuts. I figured it would add some character to the finished pots… as well as save my sanity!
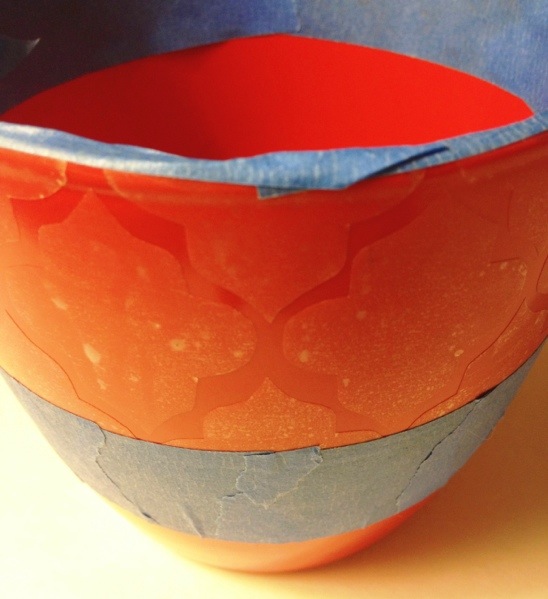
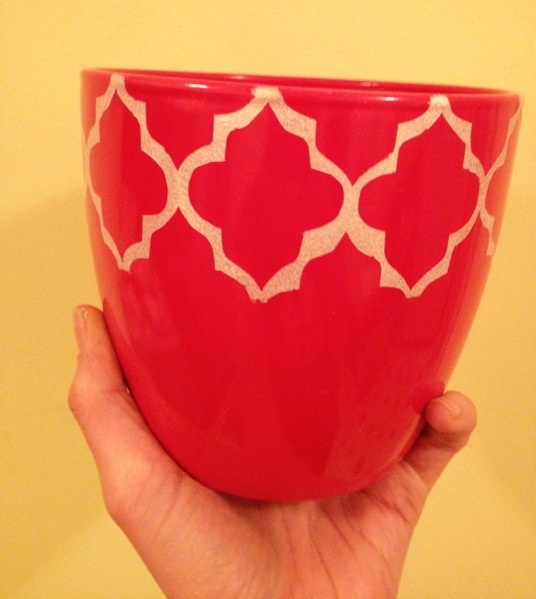
Once all of the contact paper shapes are cut out, apply them to the flower pot. To make my pattern, I first made a ring of the shapes around the rim of each pot, then cut the remaining shapes in half and used them to fill in the spaces between. Since I used clear contact paper it’s a little hard to make it out, but you can see how this creates a stencil of the pattern. I carefully taped off the top and bottom edges of the design to complete the stencil.
Treating it like any other stencil, apply two coats of paint. I used white Martha Stewart craft paint with a pearl finish so that the finished design would catch the light a little, making the design really stand out. (Martha’s paints are also good for this project because they are formulated for all kinds of surfaces including things like glass and glazed ceramics. Some paints may flake off, so make sure you use something that is designed to stay on the pot!) Immediately after applying the second coat, very carefully peel off the tape and contact paper. Take your time – the edges of the paint may want to come off with the stencil, and you don’t want that to happen!
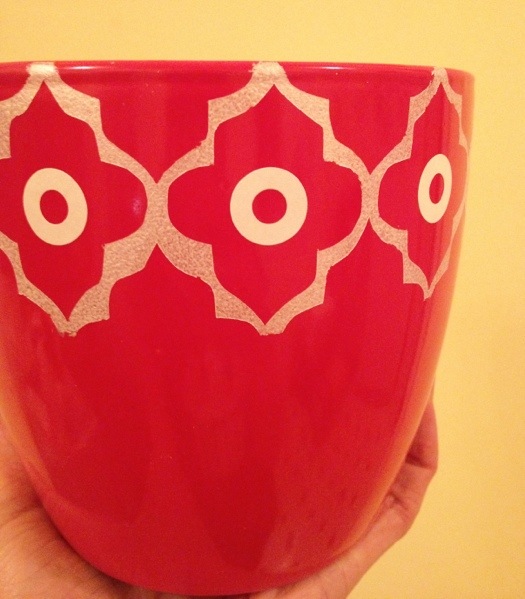
I was very happy with the stenciled design but decided it was still missing a little something. So I placed a hole reinforcement sticker in the center of each shape and used them as tiny stencils to add dots to the design. Carefully paint inside each circle, then peel away to reveal perfect, evenly-sized dots all the way around. Let the paint dry completely and you’re done!
What will you plant in your spiffy new pots? Since these are orchid pots and lack drainage holes, I think that I will use mine to plant a few cacti – my hubby has been wanting to plant a small cactus garden so it’s the perfect idea. And Mother’s Day is coming soon – if your mum has a green thumb, she’ll love these!


3 Comments