This post brought to you by Dollar General. All opinions are 100% mine.
 When I was a kid, I was constantly hunting for personalized items like school supplies, but with a not-so-common name like Rhonda it was rare that I ever found pencils or note pads or key chains bearing my moniker. It was always such a thrill to find something that had my name on it – something that was just for me. I know a few kids these days who have even more obscure names, so I decided that I would make some of them a few personalized gifts, starting with my friend's daughter Elena.

I wandered through the back-to-school section at Dollar General looking for anything that I could personalize for her. They had tons of great options – definitely a good place to check out when it comes time for back-to-school shopping! When I found a binder and some bulletin board letters, I had a great idea and ended up with a fun, one-of-a-kind gift for a one-of-a-kind kid.
Project estimate:
- Binder, about $2.25 and up
- Bulletin board letters, $1.65
- Repositionable spray adhesive, on hand or about $3 and up
- Masking tape, on hand or $1 and up
- Spray paint, on hand or $1 and up
Total: about $3.90 and up
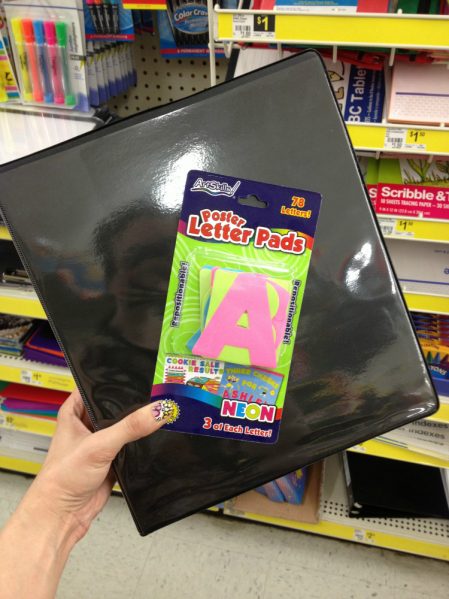
I picked out a binder with a clear cover into which you can insert pieces of paper. I had the idea that I could use paper to mask off shapes and paint over them, creating "frames" on the cover! I used letter cutouts to make my shapes, but you could do this technique with any design you want!

Use newspaper and tape to mask off the inside of the binder and protect it from any overspray.

Place the letter on the cover. The letters I used had repositionable adhesive along the top edge, which I used to figure out the placement, then I used spray adhesive to hold them all the way down. (Tip: Make sure the spray adhesive dries completely before sticking the letters to the binder to avoid leaving a sticky residue.) Spray paint over the entire cover.

You could stop at this point, but I wanted to add more details, so I used masking tape to make a plaid-ish design on the cover. After the paint was completely dry, I added a few stripes of tape in each direction across the cover, then added another coat of paint. After that paint dried, I added more tape and spray painted another color. I repeated this process until I had four colors on the cover: yellow, purple, lime green, and black.
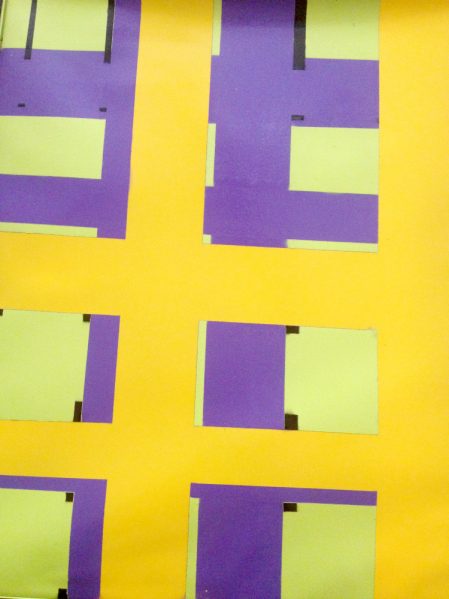
After all of the paint has been applied, carefully peel away the tape to reveal the design.
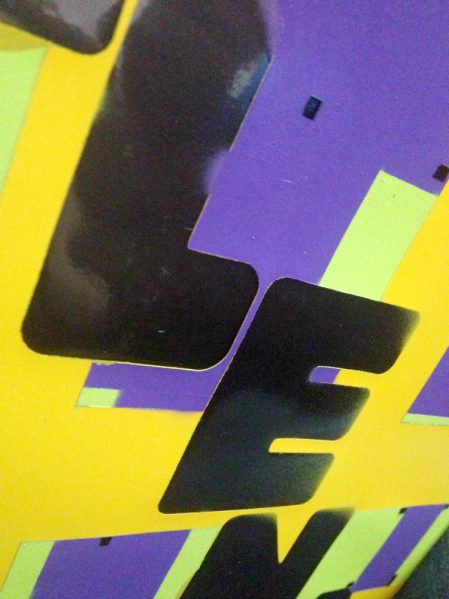
I had a little seepage of paint around the letters because the ridiculous humidity was making the paper letters curl and the adhesive come loose; if you do this in dryer weather, this should not be an issue.

Insert anything you like into the cover and it will show through the letters. You could use pretty papers, photos, doodles, or you can even change the paper whenever you want so that your binder always has a fresh, new look!


1 Comment