
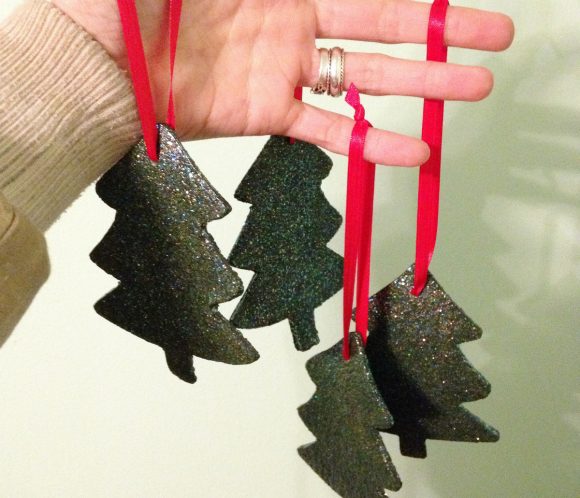
Can you guess the secret ingredient that gives these pretty cork Christmas tree ornaments their festive color?
I’ve always loved ornament making, so this year I’ve decided to make it more of a focus! As I was leafing through my stash with ornaments in mind, I came across a roll of cork that I snagged for cheap at a local discount store. I found myself wondering how it would look with wood stain. Then I remembered I had green wood stain. And the rest, as they say, is history.
If you can’t find cork on a roll, I’ve also found bulletin boards at the dollar store in the past that would be easy to disassemble for this project. To see how I did it watch the video below, or keep scrolling to see the steps in still shots.
Project estimate:
- Tree stencil or template, on hand
- Cork, $1 and up
- Wood stain, about $3 and up
- Embellishments (optional), on hand or $1 and up
- Ribbon, on hand or $1
Total: about $4 and up
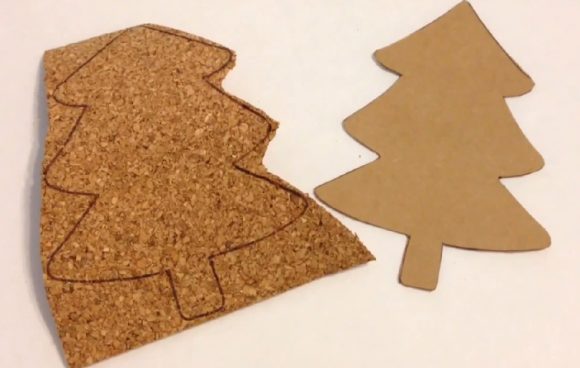
Use a template to trace a tree shape onto the cork.
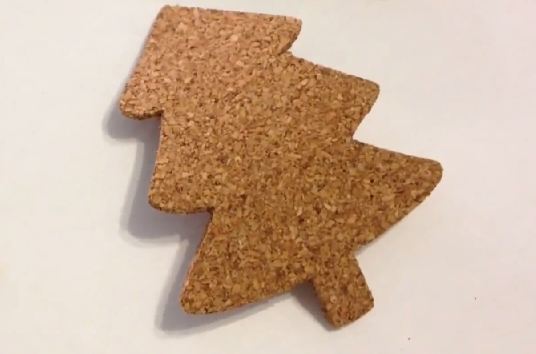
Cut out the tree shapes with a craft knife using a sharp blade. (If the blade is too dull, it may tear the cork instead of cutting.) If needed, gently sand the edges to remove any rough spots or any marks left from tracing the template.

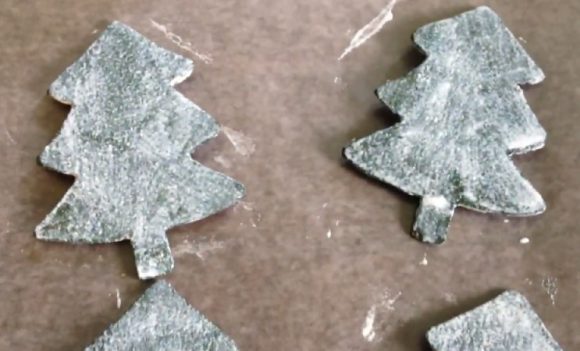
Stain the trees using wood stain and following the package directions. I used a green gel stain from Minwax.
When the stain is dry, embellish the trees as much or as little as you like. I decided to give mine a coat of Sparkle Mod Podge on each side!

Use a sharp object, such as a bamboo skewer, to carefully poke a hole in the top of each tree, and thread a ribbon through the hole. Tie a knot and it’s ready to hang!


