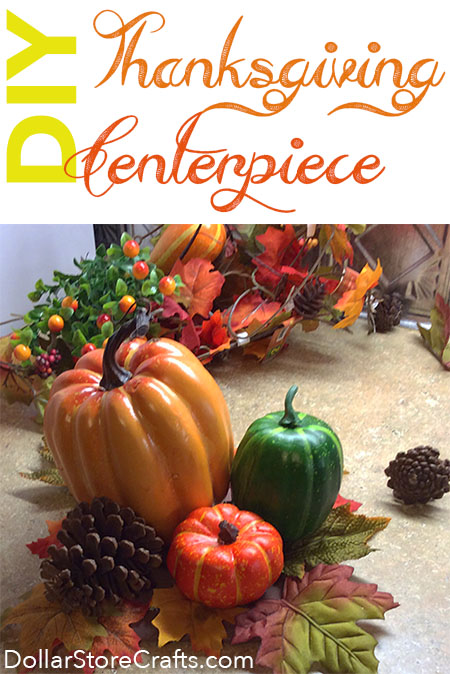
Yes, you can make this beautiful silk Thanksgiving centerpiece and use it for years to come!
Today’s tutorial comes to us from Terrie, our forum moderator at the Dollar Store Crafts Facebook group where we invite our readers to share what crafty things they’ve been up to. If you love dollar store crafting, be sure to join the group to see lots more great ideas like this!
Project estimate:
- Cardboard, on hand
- Assorted gourds and pumpkin, about $2
- Fall leaf garland, $1
- Faux berries, $1
- Pine cones, free
- Piece of felt, on hand or about $0.25
- Hot glue, on hand
Total: about $4 and up!
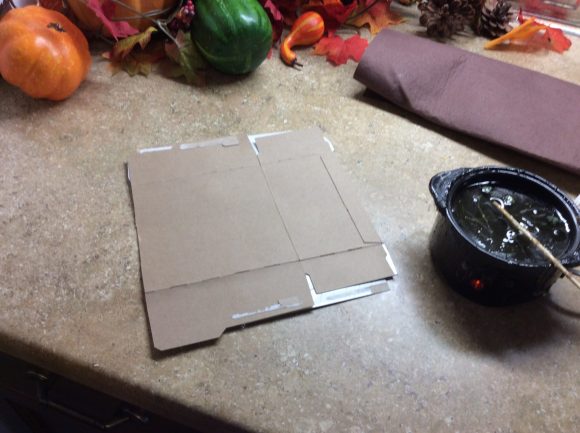
I used an oatmeal box which wasn’t very sturdy so I used the front and back and glued them together.
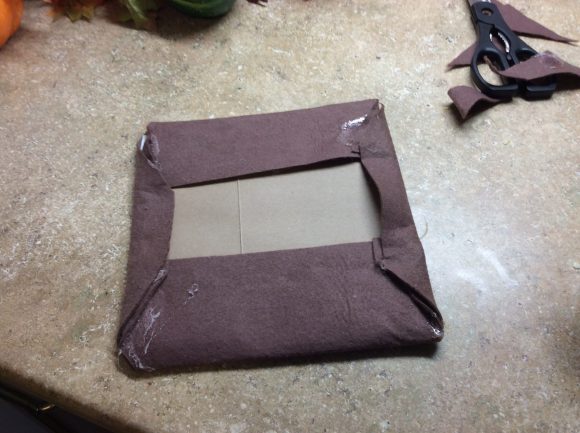
Glue the felt on the cardboard so that it covers one side of the cardboard completely. Notice I folded it over about an inch and cut the corners at an angel so they weren’t so bulky.
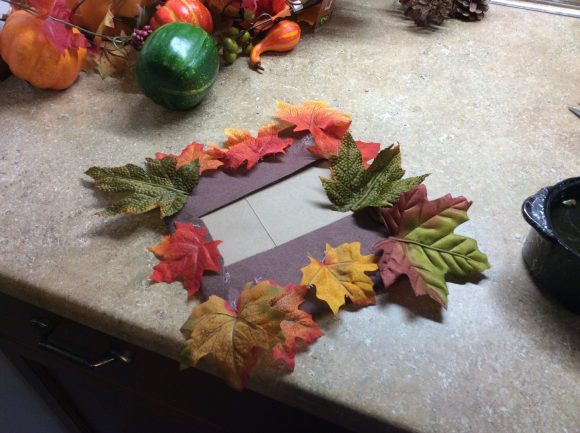
Cut some leaves off the garland and randomly glue them on the edges of the cardboard. When you cut the leaves, do so to where they don’t have stems. I used the leaves off two different garlands for a better assortment.
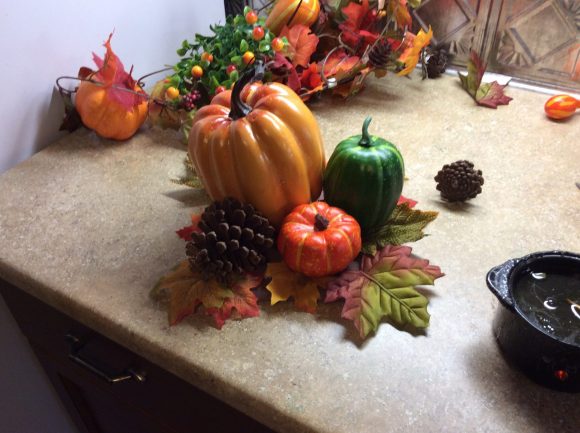
Place the largest pumpkins and/or gourds in the center of the cardboard so that they are touching one another. DO NOT use glue yet. Once you have them in the position you like, making sure your centerpiece is pretty on all sides, you can glue them in to place. Pick each one up, add hot glue to the bottom and put it back in place.
Collect all smaller items along with some extra leaves and place them evenly around the centerpiece. Once you are satisfied with their placement, glue them one by one until you are done, just like before. Note: be sure to cover all the felt.
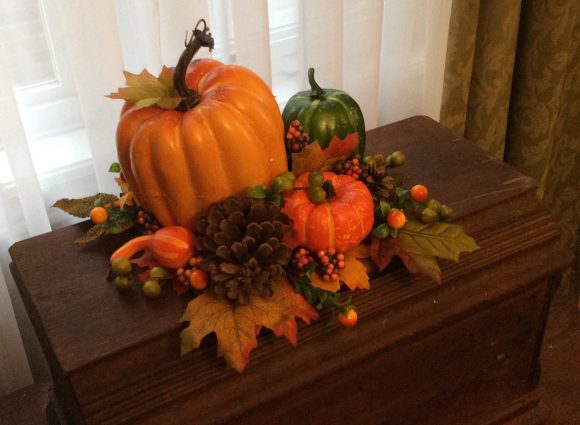
You’re finished! Your entire centerpiece is ready for the dining table, coffee table, wherever you need a touch of autumn. You can make these in different sizes and shapes, this one is round because our cardboard was a square. If you want an oval centerpiece, make your cardboard rectangular.
To store, because it is literally one piece, you can slip it into a clear plastic bag or box and place it on a shelf for next year and years to come.
Designer Tips:
- Although pizza boxes are ideal to use, do NOT use one that has been used. The pizza aroma will linger in the cardboard for a very long time.
- Before you use pine cones “from the wild” bake them for one hour in the oven at 175F. This assures that they will be insect free.


