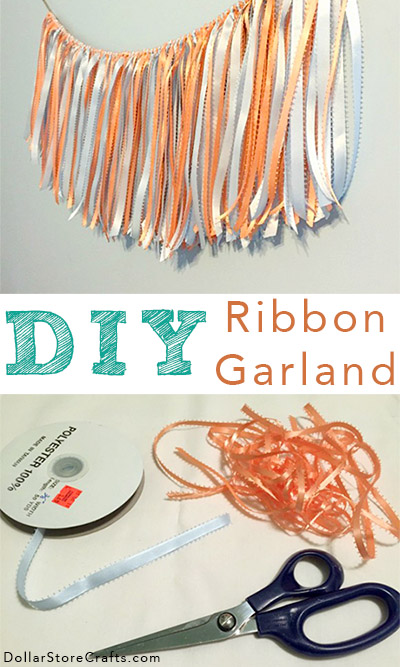
You can use new ribbon to make this fringe garland or bust your stash. The trick is in how you tie the knots.
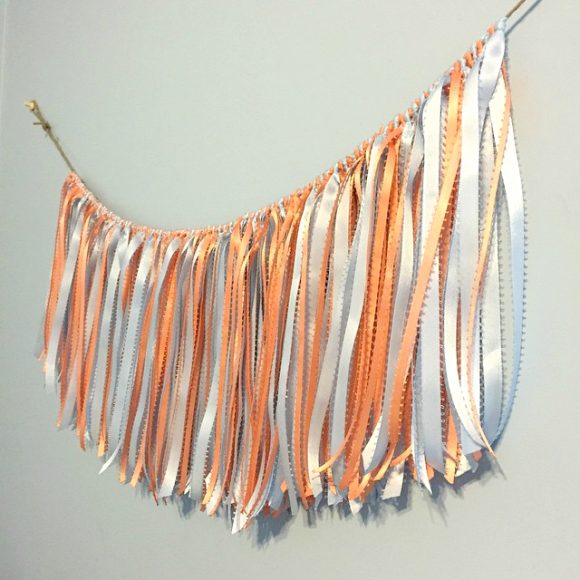
A while back I was at a local discount store and they were selling huuuuuuge spools of ribbon – 50 yards per spool – for just $1.49 each. I didn’t really need it, and I wasn’t sure what I was going to do with it, but it was such a good deal that I couldn’t pass it up and threw a few assorted colors into my cart. And boy am I glad that I did, because I used it to make this fabulous garland, and I absolutely love how it turned out!
It took a lot of ribbon to make this garland, but it was totally worth it. It would be a great project if you happen to have lots of odds and ends of scrap ribbon hanging out in your stash. Want to see how I made it? Check out my video, or keep scrolling for written directions.
Project estimate:
- Ribbon, on hand or $1 and up
- Twine, on hand or $1
Total: Free and up!

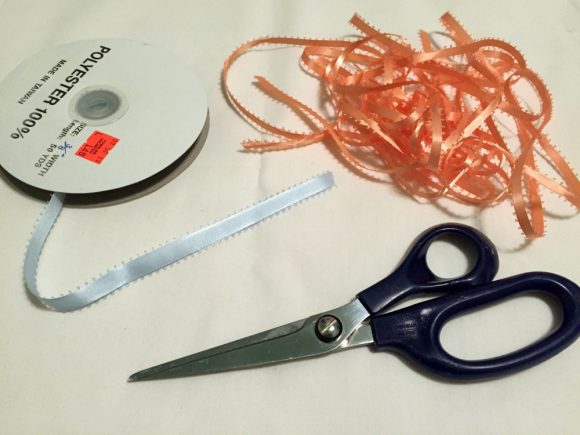
First, cut your ribbon into equal lengths. The length of the pieces will determine the length of the fringe on your finished garland, so make them about twice the length that you want the finished fringe to be and add about an inch to accommodate for making a knot. So for 7″ long fringe, for instance, measure your ribbon pieces out to about 15″ (7″ x 2, plus an extra inch). Use a lighter or other flame source to carefully seal the cut ends of the ribbon and prevent them from unraveling.

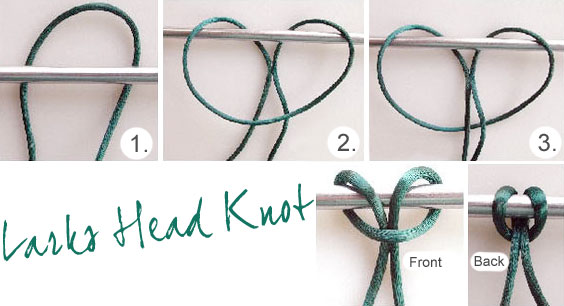
Fold each piece of ribbon in half to find the center, and attach it to a length of twine using a knot called the Lark’s Head or Cow Hitch. (Two different names, same knot!) If you aren’t familiar with the Lark’s Head/Cow Hitch, you might find this diagram from Factory Direct Craft to be useful.
Continue adding pieces of ribbon until your garland reaches the desired length. In my case, I just kept going until I ran out of ribbon!


