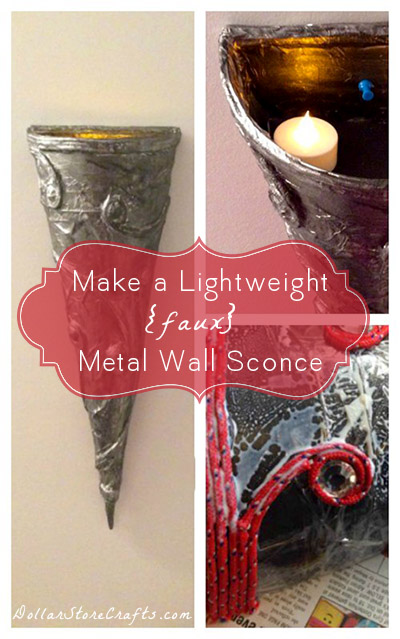
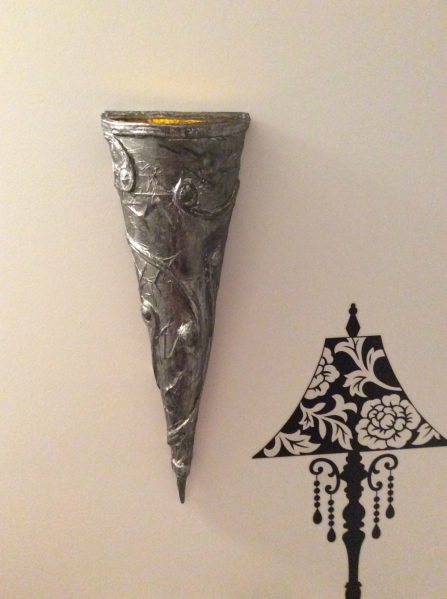
Love the look of a fancy wall sconce, but don’t think you have the decor budget to get one? Think again! This lovely faux DIY wall sconce can be used to hold seasonal silk branches or with a built in shelf, a night light with battery operated candles. Or any other lightweight items you can fit into it!
Project estimate:
- Foam core board, on hand or $1
- Poster board, on hand or $1
- Rope or cord, on hand or $1 and up
- Battery operated tea lights, on hand or $1
- Tissue paper, on hand
- Rhinestones, on hand or $1 and up
- Tape, on hand
- Hot glue, on hand
- White glue, on hand
- Paint, on hand or $1 and up
Total: Free and up!
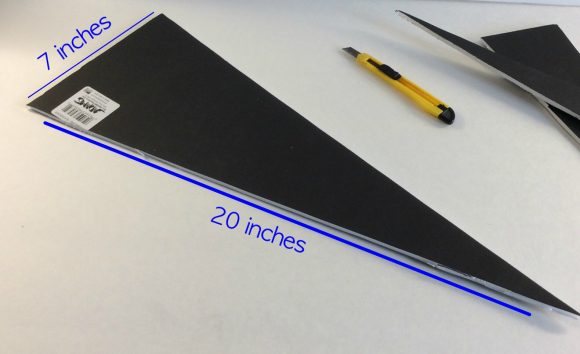
Decide the size you want to make. I made this one 7″ wide and 21″ long. Measure and cut your foam board. I use a metal metre stick and cut against it, just scoring the foam board. I then bend the board at the cut and finish cutting it from behind the board.
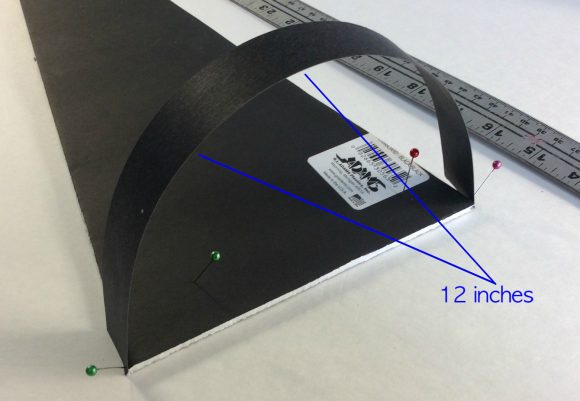
Decide how deep you want it. I used an extra piece of poster board and pinned it on each side to determine this. Mine is 12″ deep.
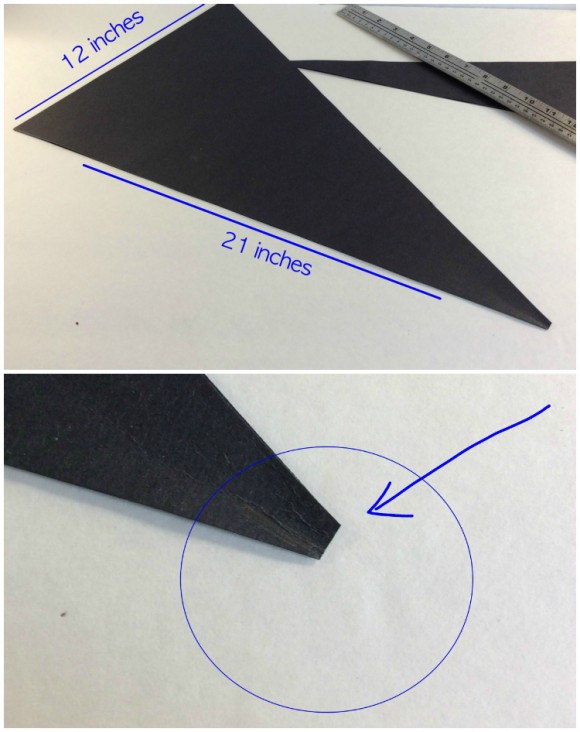
Measure and cut a piece of poster board to the correct size. After cutting my piece of poster board 12″ wide and 21″ deep, I folded it in half and pinched one end to mark it. From that mark, I used my ruler and measured to the point of the 12″ top. Repeat this step and cut along the pencil lines.
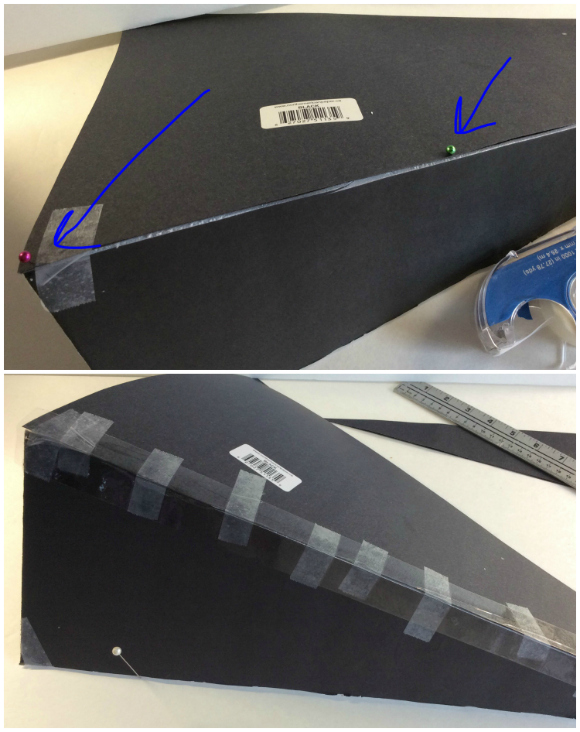
Pin the poster board into the foam board enough so that you can tape the two together with the transparent tape. Once they are together, run a piece of packing tape down the side to hold it in place.
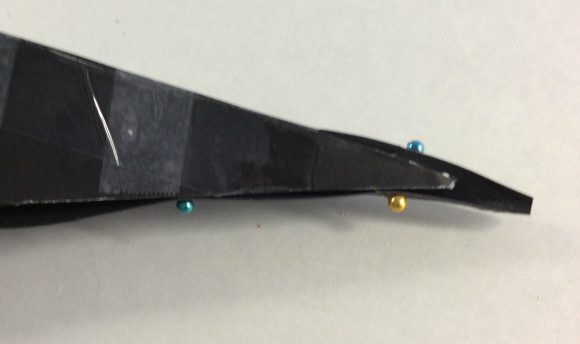
Repeat Step 4 on the other side. When you get to the point at the bottom, use a small piece of tape to hold it together and give it a back.
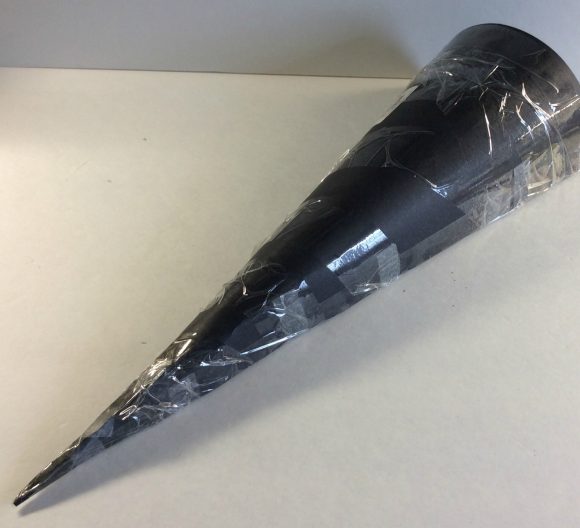
Using the packing tape, go around the cone from the top to the bottom. You can do this neatly, but I wanted more texture so I was pretty sloppy.
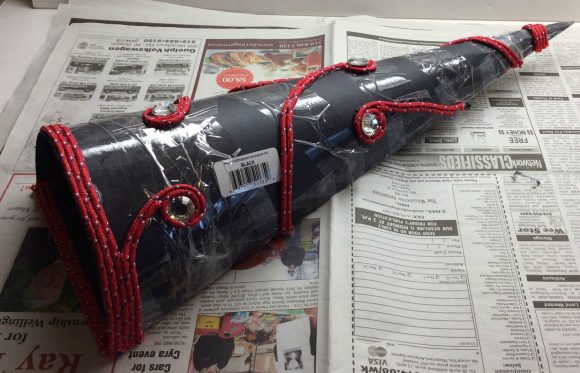
Now for the fun! Glue the rope in any pattern you like. The jewels are optional.
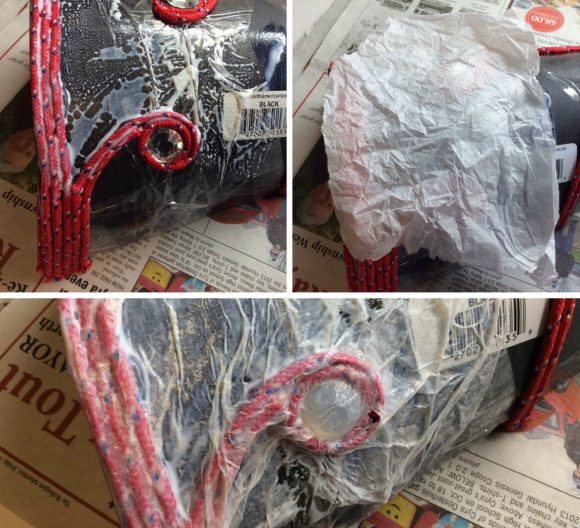
Wad the tissue into tight balls and straighten them out. Tear them into 4″x 4″ pieces. Add 1 part water to 5 parts white glue and mix it together. Sparingly dab the glue mixture onto the sconce in a small area and put on a piece of tissue paper. Starting in the middle of the tissue paper, take the brush and tap the tissue down. Continue doing this until the entire decoration is covered. You don’t have to do the entire back, but make sure the tissue laps over the sides. If you have a tear in the tissue paper, don’t worry, you’ll be putting two coats of the tissue paper on the sconce.

After the first coat has dried, apply a second coat. Let dry completely before painting. I let mine dry shoved over the kitchen faucet since it was wet on all sides.
Wad some newspaper and put it in the point of the sconce. This does two things: 1. Helps the point stay pointed and 2. If it is dropped on the point it won’t break.
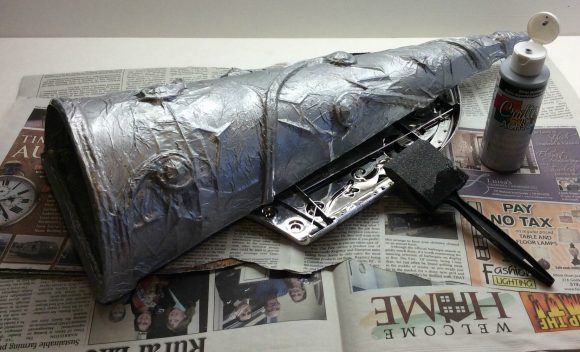
Paint your sconce. I used silver acrylic paint then antiqued it with black acrylic paint.

If you are going to use the sconce as a night light, you’ll need to build a little shelf so you can see the light of the battery operated candles. Measure and cut a half circle out of foam board that will fit about 4″ into the sconce. Glue two braces on to the bottom of it then glue the backs of the braces and carefully place it inside of the sconce.
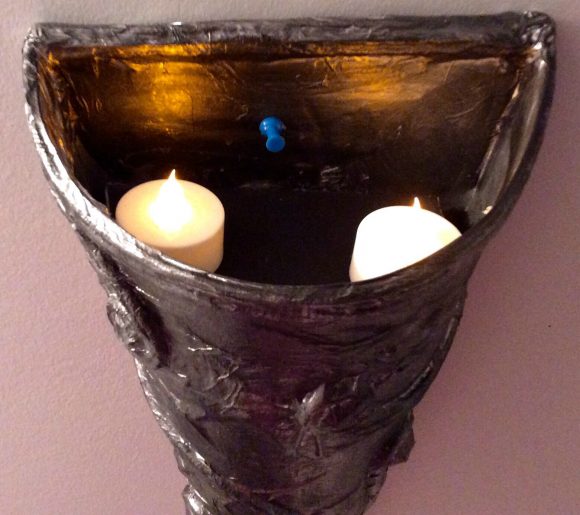
To hang the sconce I literally used a push pin, it is that lightweight.


