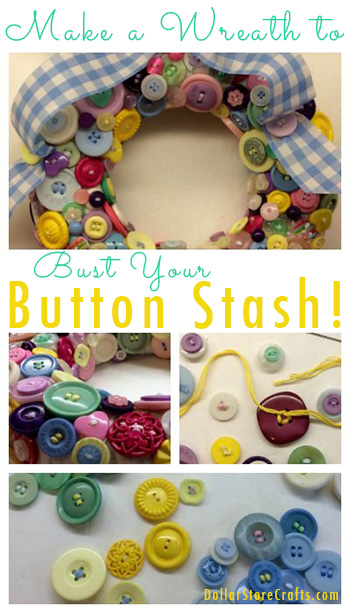
Are you a button saver? Do you see an old mayonnaise jar full of buttons at a yard sale and find it impossible to walk away? Do you have more buttons than you even know what to do with? Then this project is for you! Turn that button collection into a cute wreath. It’s easy, and will give you an excuse to keep bringing home more buttons for your stash!
Project estimate:
- Foam wreath form, $1 and up
- Old t-shirt or scrap fabric, on hand
- Embroidery floss, on hand or $1
- Buttons, on hand or $1 and up
- Foam core board, on hand or $1
- Wire-edged ribbon, on hand or $1
- Pipe cleaner, on hand
- Hot glue, on hand
Total: $1 and up
Button Preparation
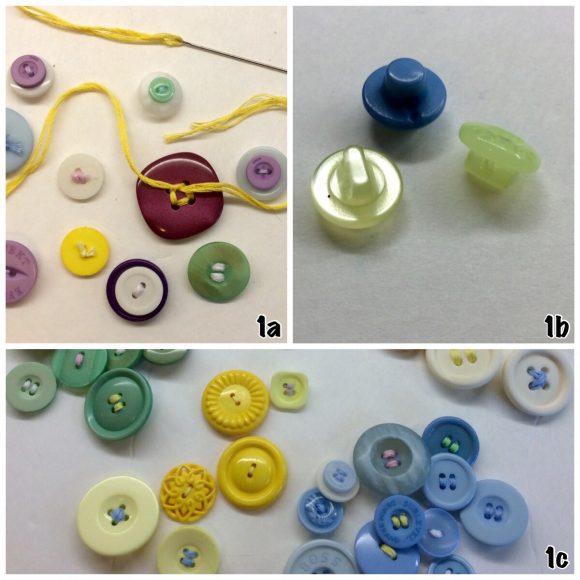
Thread needle and sew the button, tying the two threads on the back side of the button. Cut the thread short enough that they don’t extend past the button. For interest, sew smaller buttons on top of larger buttons (1a)
If you have any shaft buttons (1b), save them to help fill in later. You don’t have to thread them. Sort buttons by colour (1c).
Wreath Preparation
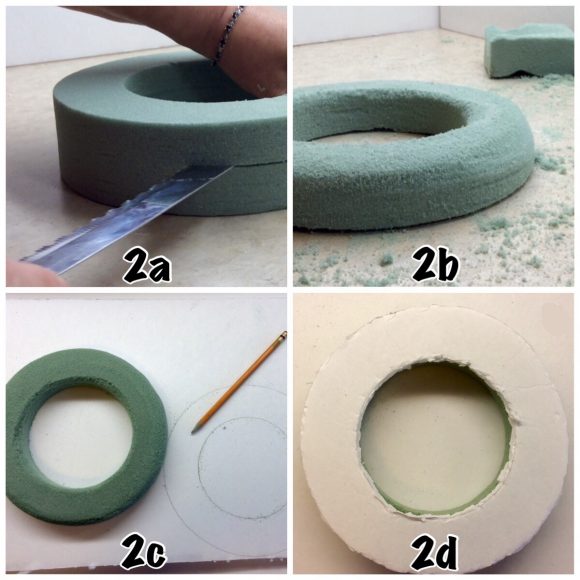
Cut wreath in half (2a). Using another piece of the same kind of foam, rub it against the sharp edges of the top of the wreath, inside and out (2b). This will make your wreath easier to work with and look nicer.
Trace the wreath on a piece of foam board and cut it out (2c). Hot glue the foam board onto the wreath (2d).
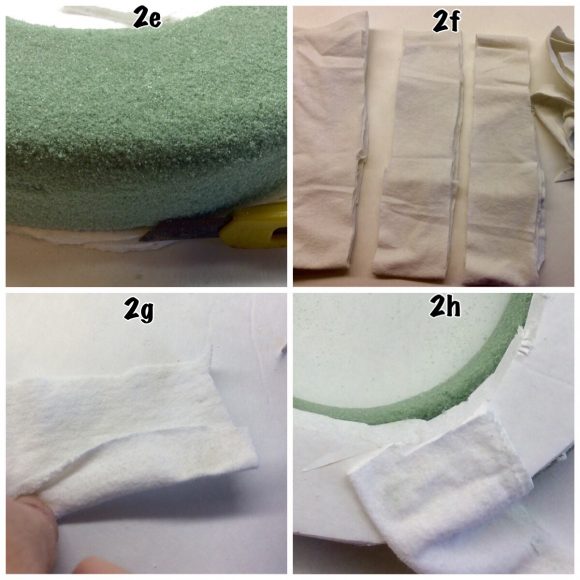
Using scissors or a cutter, trim the foam board so that it doesn’t extend past the wreath (2e).
Fold t-shirt into thirds lengthwise, cut off the hem off and discard. Cut three strips that are 3″ wide and cut them so they aren’t round (2f).
Take the edge of one of the strips, fold it over and glue it to itself (2g). Glue it to the back of the wreath fold side down and at a slight angle (2h).

Wrap it through the center of the wreath and around until you get to the end of the strip. The folded over part covers the raw edge of the strip of t-shirt. Glue it down to the back of the wreath (2i).
Once again, take the edge of another strip, fold it over and glue it to itself. Glue it to the back of the wreath fold side down and at a slight angle on top of the other piece (2j).
Continue doing this until the entire wreath is covered (2k).
Gluing the Buttons
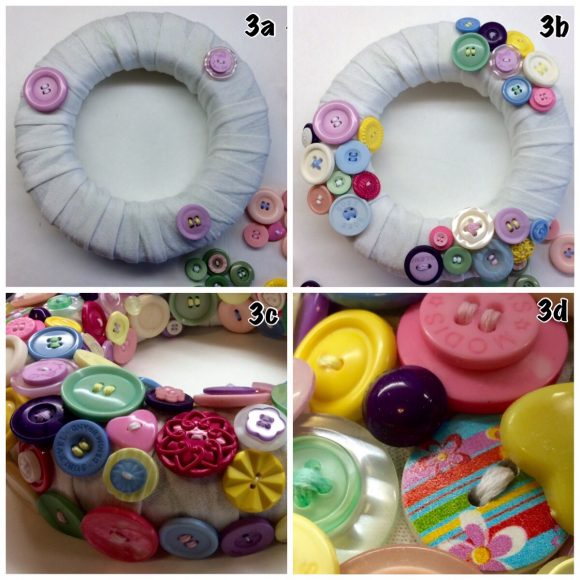
Start gluing the buttons on in a triangular shape based on colour (3a). Continue gluing the buttons in the original three clusters. When you get as far along as the picture shows, start gluing a row of larger buttons around the outer then inner edge (3b). This helps to cover the wreath better.
Glue the buttons as close as possible to one another. You will have some of the fabric showing through (3c). Once you’ve covered as much of the fabric as possible but you still have gaps between the buttons, start gluing some smaller buttons on top of the gaps (3d).
Finishing your Wreath

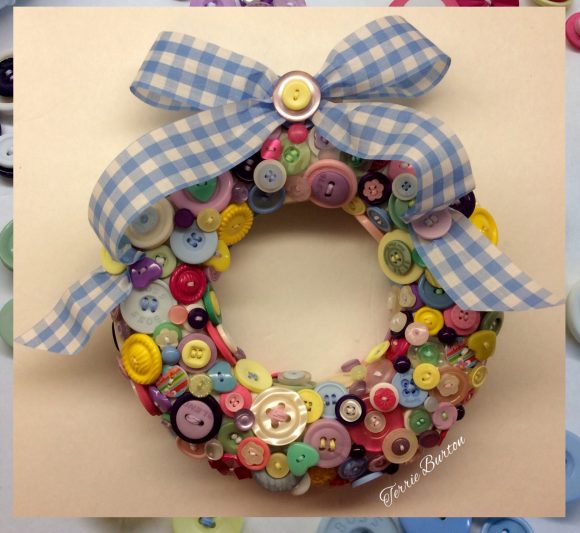
Tie a simple “shoestring bow” and hot glue it under the knot so it would stand up. Glue a button on top of the knot and put a dab of glue under the button so it would also stand up (4a). Take each tail of the bow, fold and glue it on the wreath so that it stands out from the wreath. Glue a button on top of the fold (4b).
On the back of the wreath, directly behind the bow, I made two deep cuts into the wreath, about 1″ into the foam (4c). Put a generous dab of hot glue on top of the first cut and push in one end of the pipe cleaner (4d). Repeat on the other side to create a hanger.


2 Comments
Anne
Oh how cute! I’ve got a Craft Gossip post that links to your tutorial here:
http://sewing.craftgossip.com/tutorial-make-a-button-wreath/2015/02/12/
–Anne