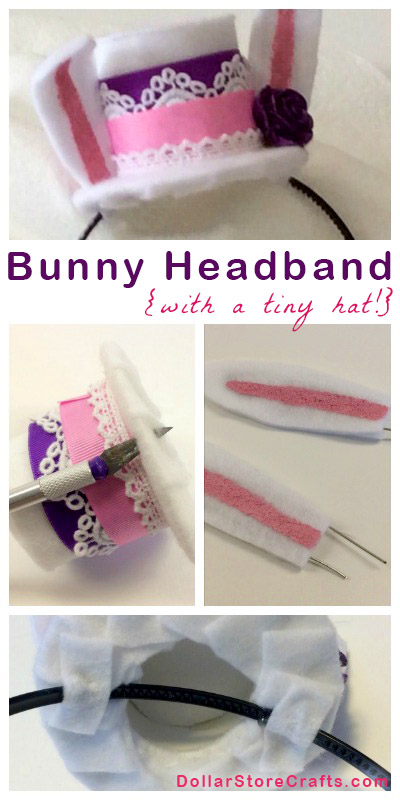
Whether you have a little one around your house who would like playing dress up with a mini bunny top hat, or you want one for yourself to dress up for Easter (you’re never too old!), this bunny headband is a super fun project. You can even substitute some of the store-bought materials for things out of the recycling bin, making this not only adorable but affordable too!
Project estimate:
- Headband, $1
- Felt, on hand or $1
- Poster board, on hand or $1
- Foam board, on hand or $1
- Wire, on hand
- Ribbon and lace, on hand
- Rose button or other embellishments, on hand or $1 and up
- Paint, on hand
Total: $1 and up
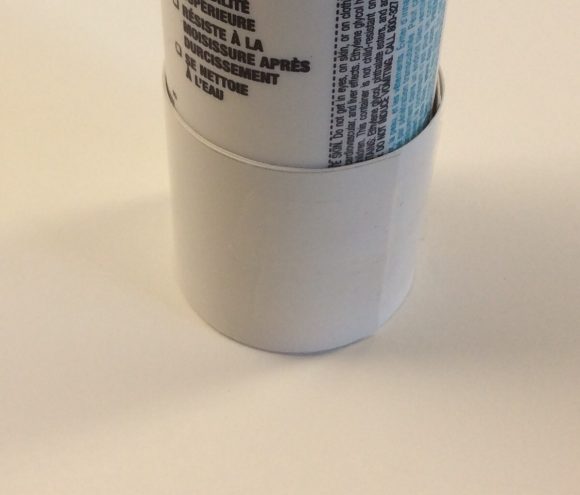
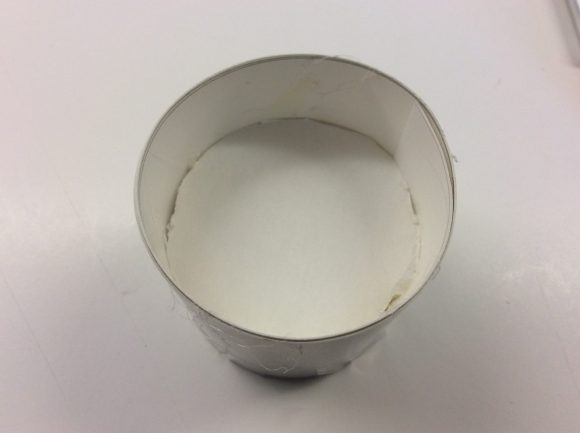
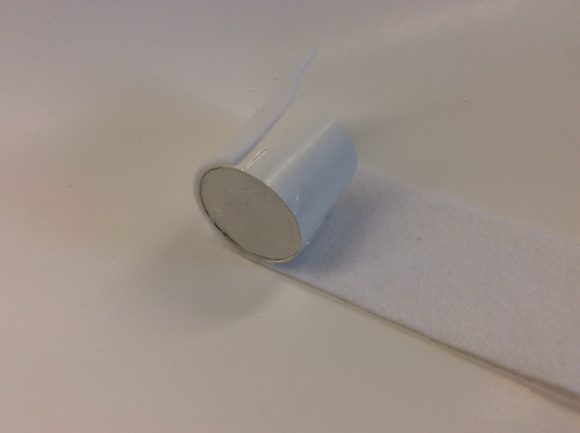
Decide how big you want your hat to be. The one in the picture is approximately 1.5″ tall. Cut a length of poster board the width you want your hat to be tall. I used a tube of caulk to help me keep the poster board even. Tape the end.
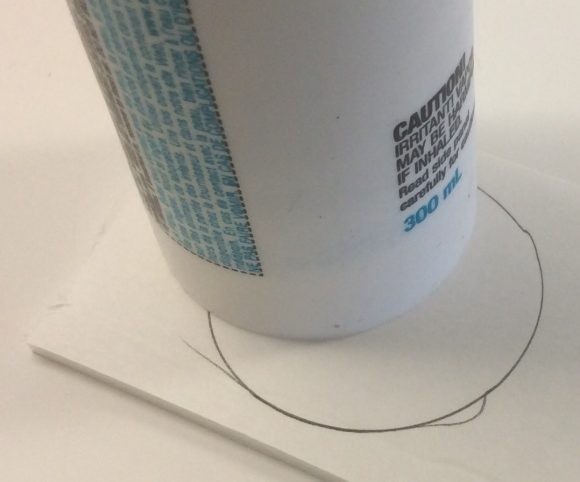
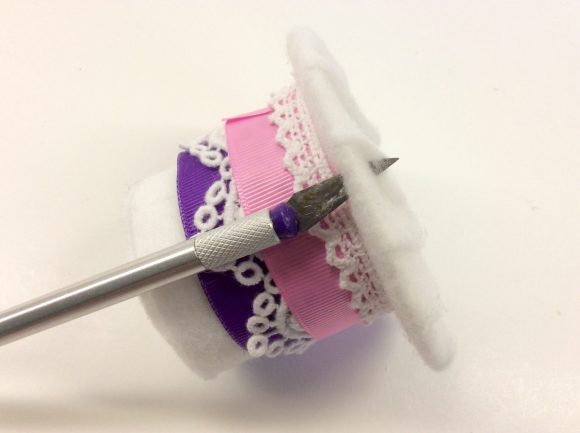
Cut two round pieces of foam board. Because I had used it to establish the size of my hat, I used the tube of caulk to mark the round pieces. Cut just inside the line that you drew so it will fit properly. I used an X-acto knife.
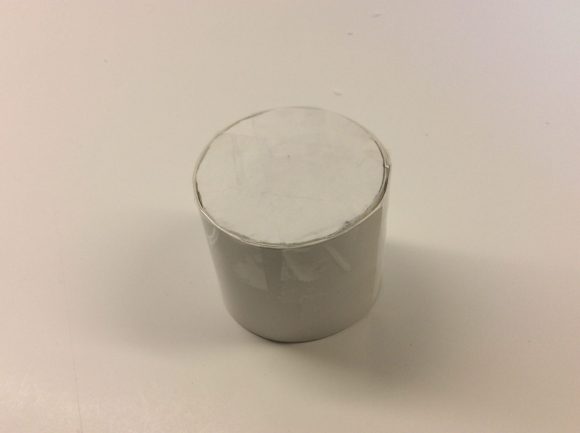
Glue a few dots of glue around the edges of one of the circles of piece foam board. Put a piece of tape on the top of it and secure it to the top of the hat. Tape across the top of the hat as shown.
Glue a circle of glue inside the hat approximately 1/4″ and push the other circle into the hat. YOU DO NOT WANT THIS PIECE EVEN WITH THE BOTTOM. It needs to be in this position so that the finished hat will properly fit on the headband.
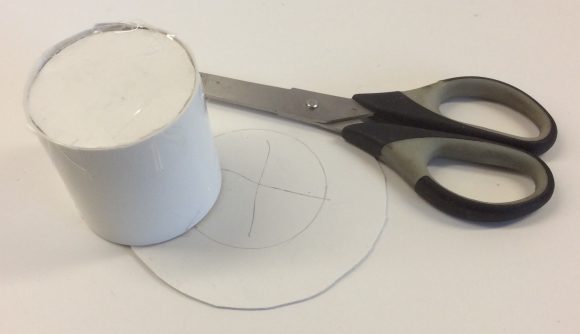
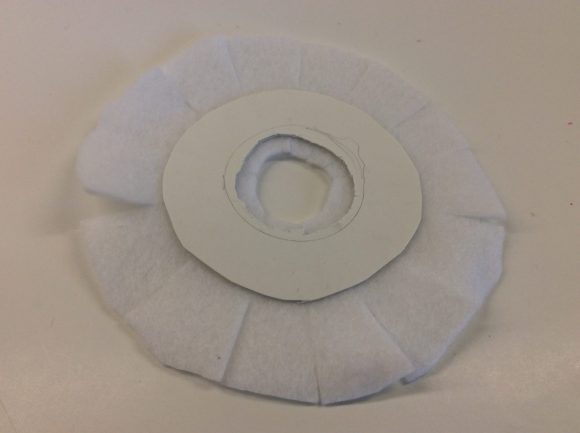
The brim of the hat should be about 1/2″ bigger than the hat on all sides. I used a bolt of ribbon to draw a circle on poster board. I placed my hat in the center of the circle and drew another circle. So that the two pieces fit, I drew one more circle about 1/8″ smaller than the hat. After I finished marking, I cut on the outer circle then carefully cut out the smallest circle in the middle. Using that as a template, I cut another one and glued the two pieces together.
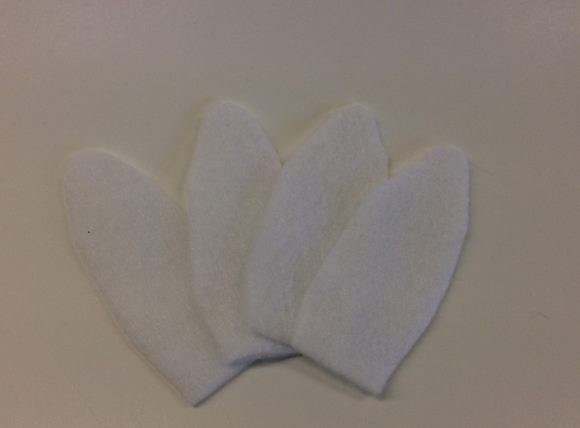
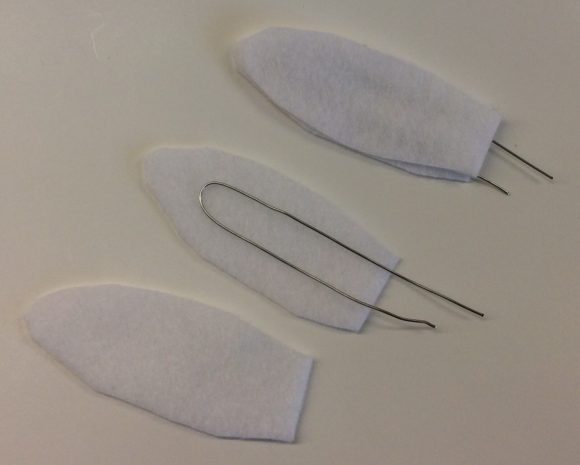

For the bunny ears, I cut four pieces of felt 2″ tall and approximately 1/4″ wide at the bottom. I shaped the wire as shown and left some longer than the felt. Using the wire helps the ears stand up and bendable. You will want to make each piece of wire 1″ longer than the ears. USING CLEAR HOT GLUE, adhere each ear with the wire sandwiched on the inside. Paint the inside of the ears pink.
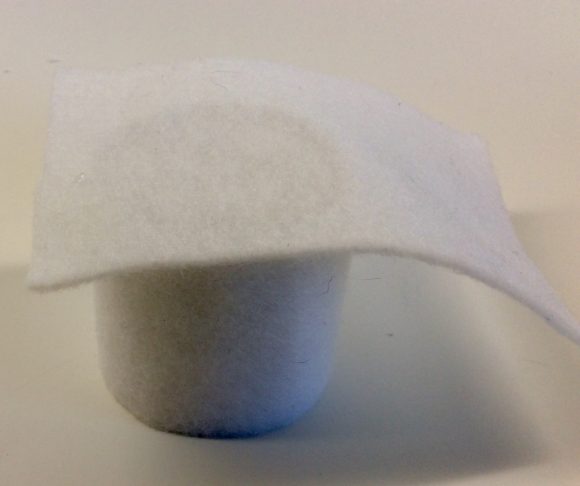
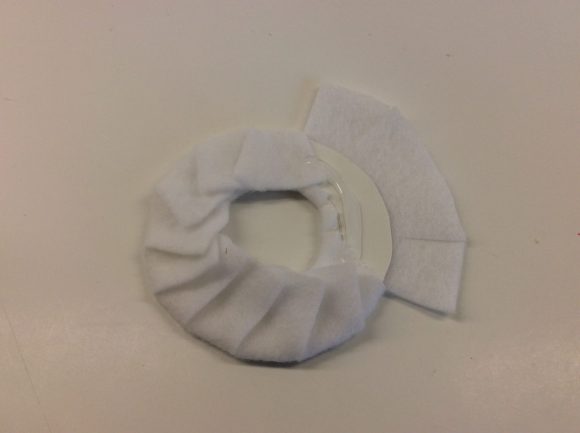
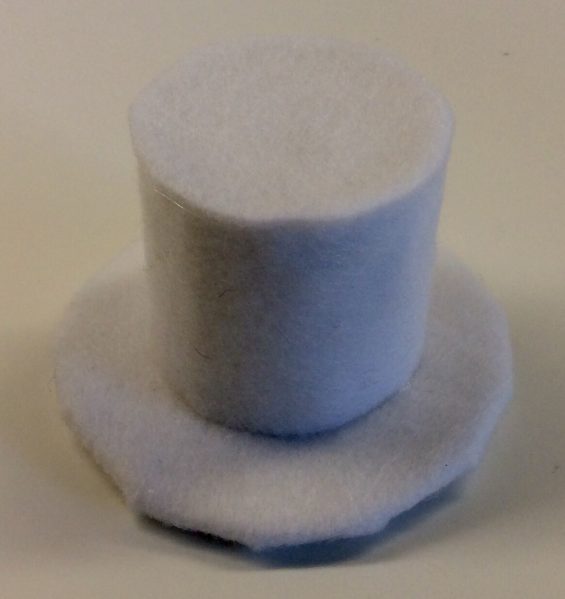
Cover the two pieces of the hat with the white felt, the side and top, and adhere USING CLEAR HOT GLUE. Cover the brim of the hat as shown in the picture. Glue the two pieces together.

Decorate your hat any way you like, as much as you like.
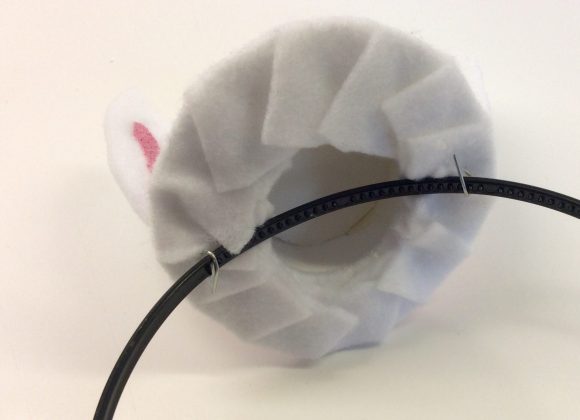
To add the ears, make two small holes on each side of the hat, four in total. Push the two wires through the holes and secure them around the headband, bending them flat when you’re finished. If you are using a wide headband, just twist the wires and bend them flat against the brim. Attach the other ear on the other side and to the headband.
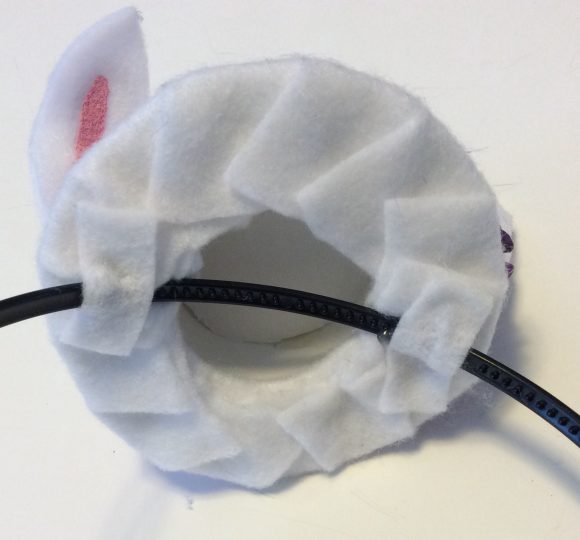
If you used the thin headband, cut two small pieces of white felt to cover the wires. Hot glue them on top of the wires so they don’t show or poke the person wearing the headband. If you are using a wide headband, glue the hat on to it where the wires are. Make sure that the wires aren’t exposed.
Notes:
- I put the hat at an angle on the headband intentionally. Place it where you want to.
- The hat will also attach to a knit headband.
- If you are using a knit headband, don’t poke the wires through the brim. Glue the bottom and side of the ears to the brim.
- You can use craft glue but it takes a lot longer because of drying time.
- If you prefer more of a Derby style hat, cut a styrofoam call in half and cover it with felt. Hollow out the middle a tiny bit so it fits the headband properly.


