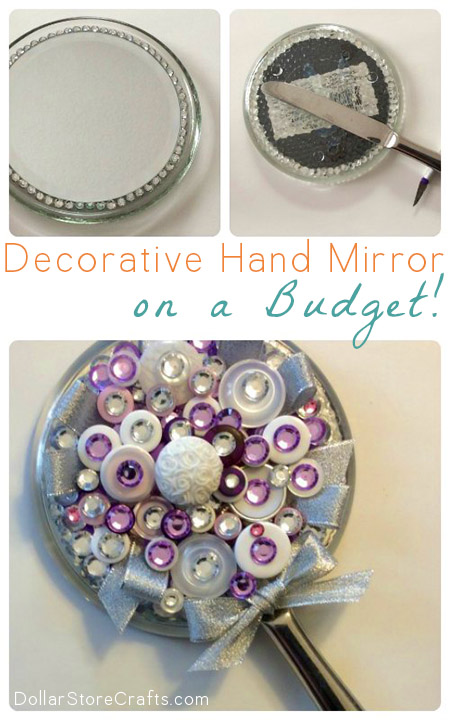
Every girly-girl should have a pretty hand mirror! You could buy one from the store, but if you can’t find one that you like, or you want one that is special and unique, it’s super easy to make one from scratch!
Project estimate:
- Mirror candle base, $1
- Glass candle base, $1
- Knife, on hand or about $0.25 and up
- Ribbon, on hand
- Buttons, gems, and other embellishments, on hand or $1 and up
- E6000 glue, on hand
- Hot glue, on hand
- Nail polish, on hand
- Nail polish remover, on hand
Total: $2 and up
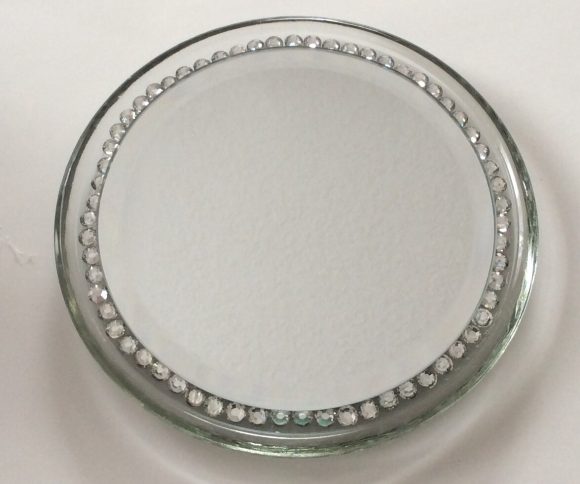
Using a paper towel, wipe down the glass candle base and knife. Let dry. Glue the mirror on the top of the candle base with your choice of glue. There is a space around the mirror. I glued small gems* around the mirror to fill in this space.
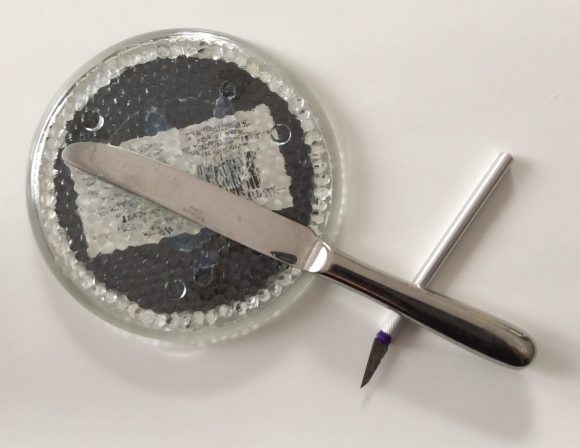
Turn the candle base over and glue the knife on. I have used E6000 on the knife handles for years without any problems.
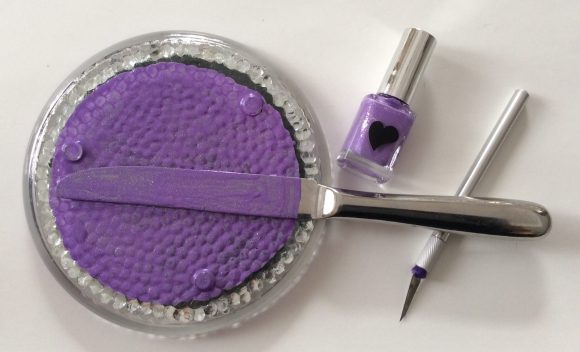
Paint the bottom of the candle holder with a pretty nail polish. This will cover the back of the mirror. Let set overnight.
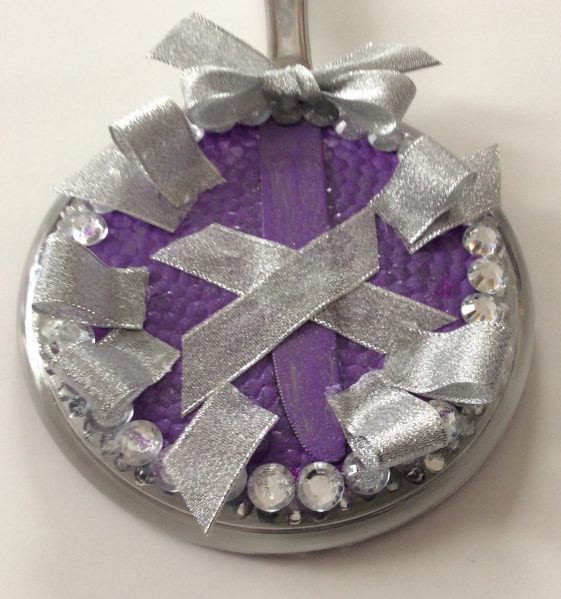
Cover the back of the mirror any way you like. It will take two levels to cover the back because the candle holder has small legs. I started with gluing gems around the edge of my nail polish*.
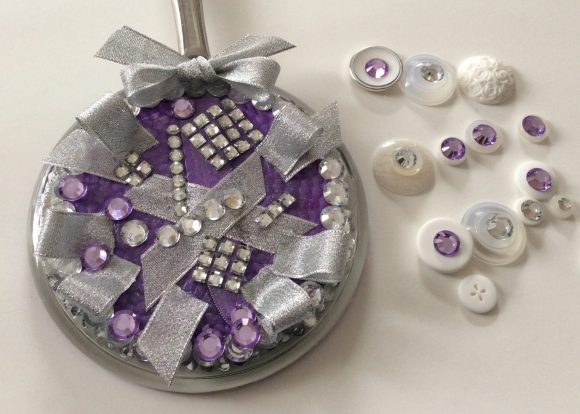
I then used random gems and ribbon to build up the bottom so it would be even with the legs. I used hot glue to adhere gems to the middle of buttons and used them, too. Embellish as little or as much as you like.
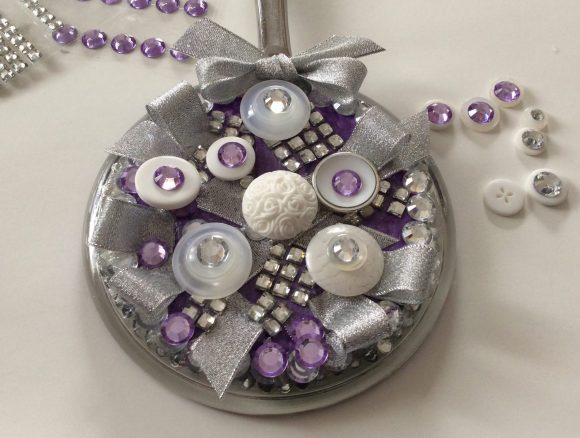
*Using any “smelly” adhesive (E6000, etc.) may make the backs of the gemstones melt and bubble. If they have a sticky back, you’ll be fine. Leave it on the gem and glue to it. Hot glue didn’t affect my gems with or without the sticky back. Because I used E6000, I used little loops of ribbon the bow to cover my gems on which the backs were melted.


