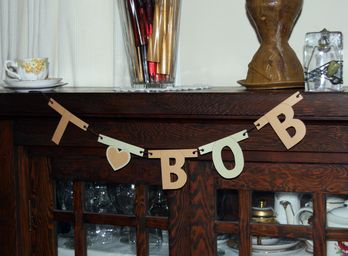
I like cheap and cheerful decorations, and these jointed banners are cute and kitschy. When I came across these conversation banners the other day, I was inspired to create my own. You guys, two hours later, I had created printable hangy letter templates to share with everyone! I have been having so much fun with these, and I haven’t even gotten started on all the ideas I have for them. Let’s hope I can make time to create a few of the great ideas I have in my head before I get distracted by something els… oooh, shiny!
These jointed banners are great because they fold up flat and are easy to store. It would be fun to make a custom banner for a friend and send it in the mail.
Using my template, you can create a custom banner that says ANYTHING and comes in any color or pattern you can imagine. If you think you’ll use these templates a lot, cut them out of cardstock or laminate the paper before you cut them so you can use them again and again.
Project Estimate:
- Jointed Letter Templates, on hand (download my PDF here: ALPHA-BANNER)
- Cardstock, on hand or $1
- Brads, on hand or $1
Total: FREE and up
To Make:
Template Method: Print out the letters you need onto cardstock (or paper, then laminate), cut them out and use them for templates. Trace each letter template onto desired paper and cut out. I traced my letters backwards onto the back of paper, so when I cut them out, the pencil mark wouldn’t show on the front of the banner (but the letters would face the correct direction!) You might want to outline the letters on the banner with a marker.
I like the template method because then you have the master letters and you can use them again and again, but if you are only going to make one banner, you can also try:
Direct-Print Method: Alternately, you can print the letters you need directly onto cardstock or other paper, cut it out and assemble that way.
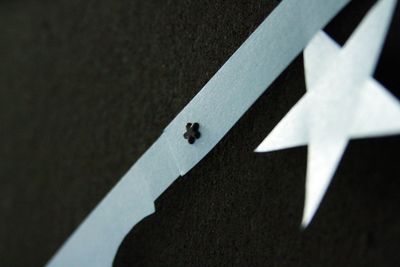
To assemble: punch small holes and use brads, or punch holes and string with yarn or ribbon.
Sidenote: I used these cute brads that I got in my swap package from Alison to connect this banner. They are so cute!! Love! Such a fun use for cute scrapbooking supplies!
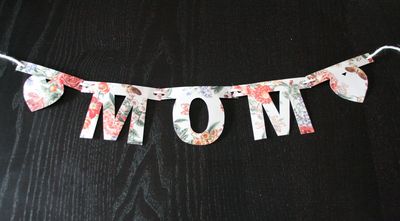
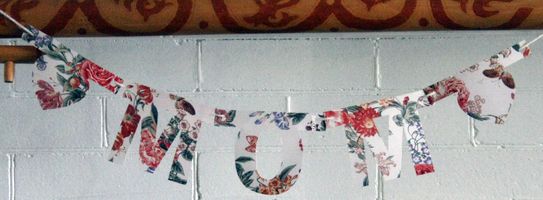
You can use patterned paper to make them (this floral paper was from a fabric sample flyer). Just be aware that a busy pattern like this looks best if it’s hung in front of a contrasting background because the large pattern can cause the details in the letters to be lost. I punched holes and used a piece of yarn to string these letters together.
See how the detail is lost when it’s hung in front of a similar-colored background?


11 Comments
Lisa
Awesome. Thanks for sharing this. Infinitely useful.
Teacher Teacher
I love ideas that are easy to store, but set up and use enough space to be impressive. These banners are great! I can already think of all kinds of uses for them. Classroom use, mail for my sister’s birthday, this year’s Christmas greeting??? Thanks for the idea(s).
J.Hill
Bookmarking this page for future parties! Thanks!
amy
Awesome!!!!
Amanda
These are great! So fun for birthdays and holidays too!
Aimee
I LOVE this idea. How fun would these be in a classroom or bedroom featuring the whole alphabet. I’ll be linking. Thanks so much for the wonderful idea.
Maddy
Not only are these signs are great for parties but if you did one of a child’s name in paper that matched their room, it would be adorable. Or, if you did one in antique music sheets, it would be very chic. Antique music sheets are so in right now!