
I can’t tell you how many times my kids have asked me to make a t-shirt at the last minute. Something with a team name for field day, a gift for a friend, etc. I actually keep a stash of t-shirts from Dollar Tree in my craft room, and I’ve developed a quick, inexpensive method for neatly putting text on fabric.
For this example, I’ll show you how I quickly made a bib. I actually used this idea for a baby shower I just threw. We had a bib decorating table, and I set out stamps (like I did here), stickers, and paint.
Project estimate:
- Stickers, on hand
- Washi tape or masking tape, on hand or $1
- Bib, $1 and up
- Paint, on hand
Total: $1 and up
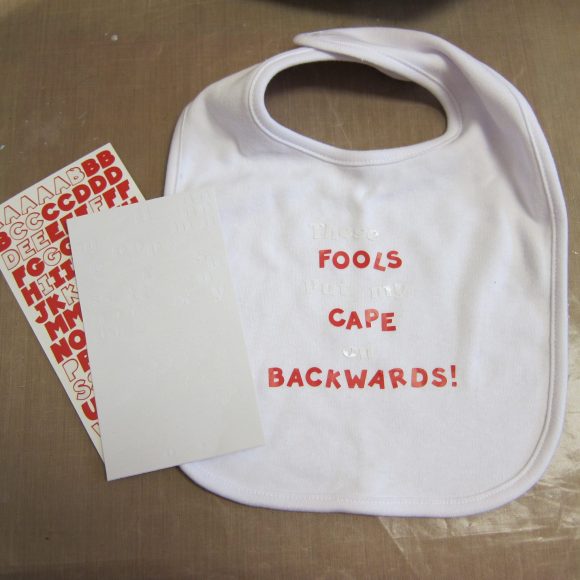
Step one: Use stickers to write the message on the bib. I used different sticker sets to vary the text. Press the stickers onto the fabric firmly.

Step two: Use washi tape to frame the text.
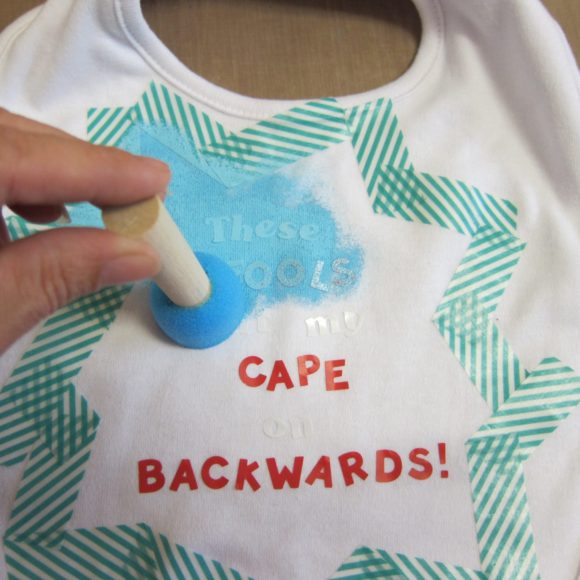
Step three: Paint inside the washi tape frame. I like to use a pouncer or foam brush to dab the paint on, so I don’t push paint under the sticker. I used fabric paint for baby gifts, like this bib, because they are softer, but any permanent paint will work.
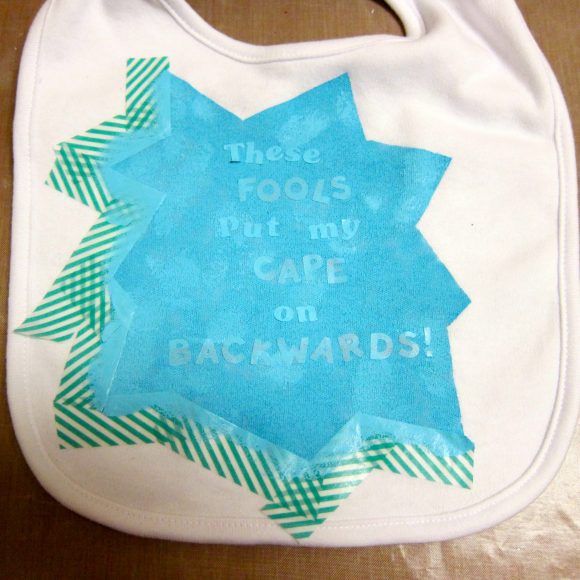
Step four: Once the paint has dried, remove the tape and stickers to show your message!

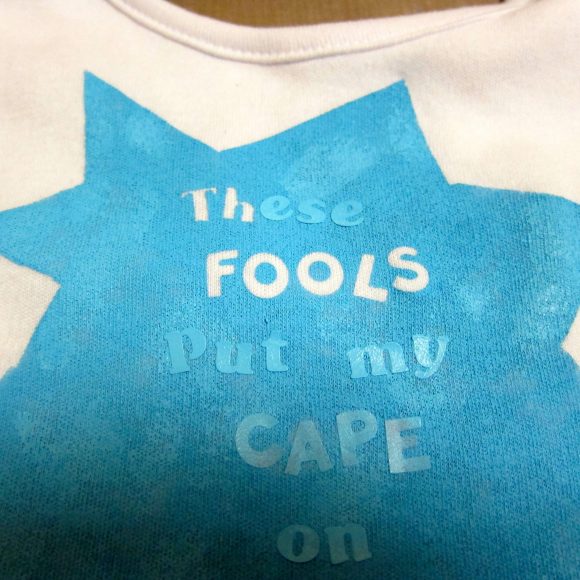
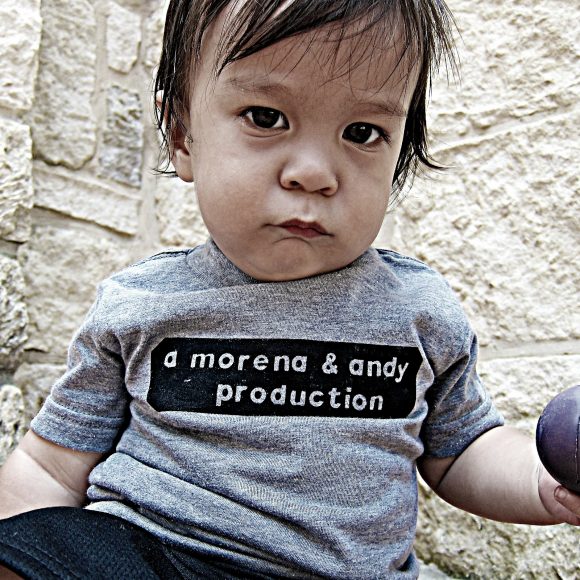
I’ve used this technique on t-shirts, like this baby shirt I made for my youngest son.
I’ve also made shirts for my older boys, using larger stickers. This would be a quick, fun way to embellish pillows, placemats, or any other fabric item you want to add text to. So go ahead and make that Nickelback jean jacket you’ve always wanted!


3 Comments
Serena
That saying on the bib is hilarious – LOL!
Cassidy
Can u wash the bib and the paint not come of what kind of paint did u use