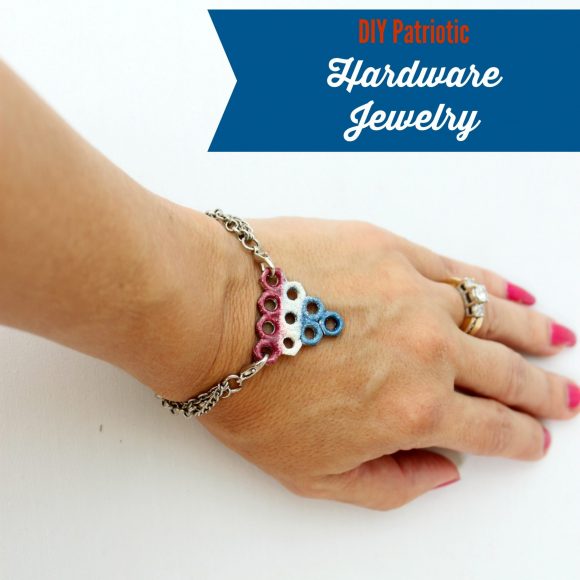
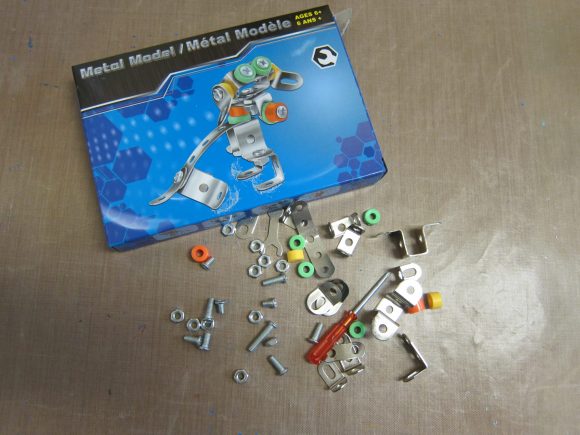
Last week I showed you how to make a faux rusty bracelet using hardware. I’m using pieces from this kit I found in the toy section at Dollar Tree, and teaching you how you can make FOUR different pieces of jewelry by using this single $1 box. Last week’s piece was a bit grungy, this week I’m going with a more sleek look.
Since Independence Day is around the corner, I went with the colors of the American flag for this bracelet. You could easily change it to different colors to match an outfit or maybe to represent your favorite team at the World Cup. (Go Team USA!)
Project estimate:
Metal toy kit, $1
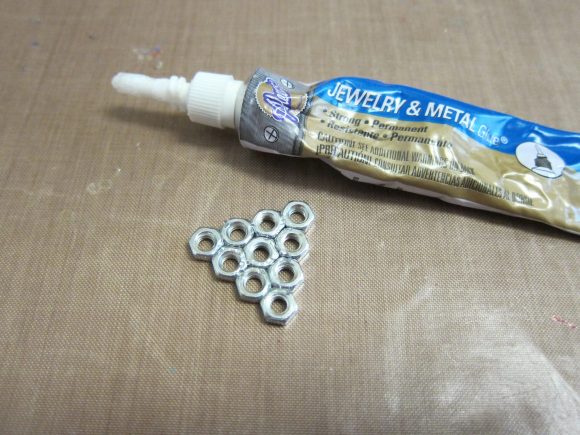
Jewelry glue or Super Glue, on hand
Embossing ink and powders, on hand
Chain, on hand
Total: $1
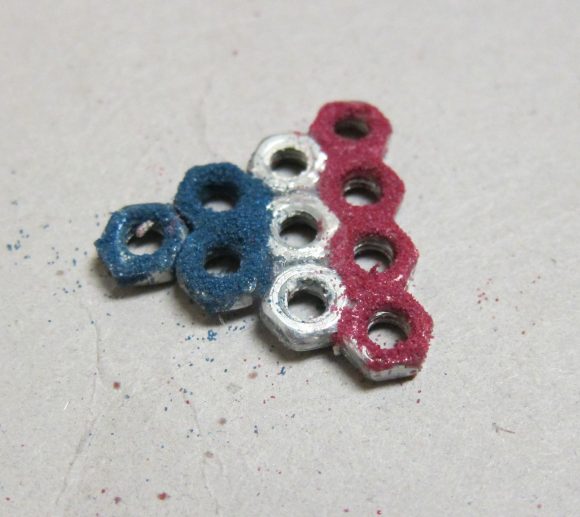
Step one: Use 10 of the hex nuts from the box. Glue them together so that the top row has 4 hex nuts, the next 3, etc. Let it dry.
Step two: Apply embossing powder to the hardware. I did this by using an embossing ink pen and coloring on the hex nuts.
Step three: Add the embossing powder to the piece. Shake off the excess, and heat it to melt the powder onto the metal. Let it cool and don’t touch it yet, as the metal will be extremely hot!
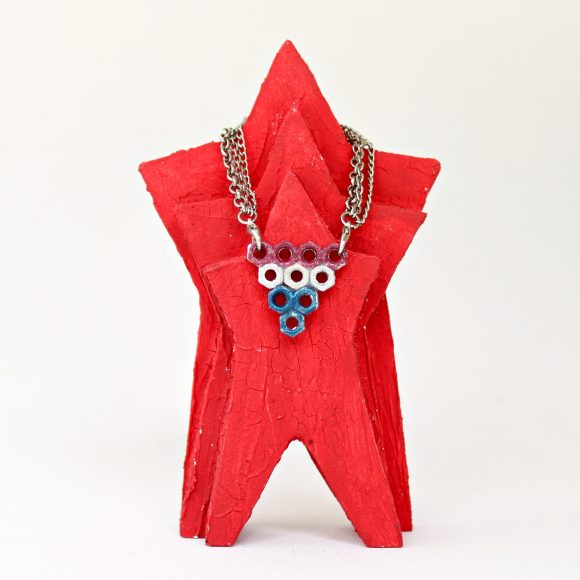
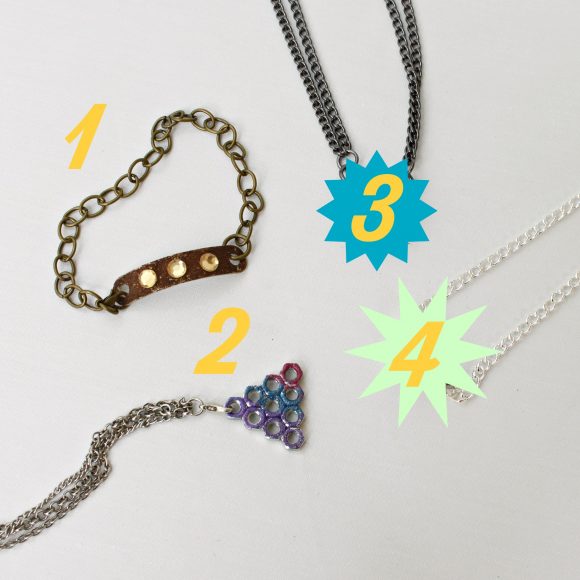
Step four: Add a chain to the charm after it has cooled. I used an old bracelet. This would also make a pretty pendant for a necklace. With the added color, it hardly looks like hardware anymore!
Two pieces of jewelry down, two more to go! Check back next week to learn how to make the last two pieces of hardware jewelry in this series.
Morena Hockley is the crafty mind behind the tutorials at Morena’s Corner. She loves to share ideas for projects that are frugal and fabulous: easy on the wallet, but still great to look at! Morena is a stay at home mom to four young children, and crafting is what helps her maintain her sanity. It’s a wonderful outlet and it’s how she gets her “me” time. In a past life, Morena was an elementary school teacher and an assistant principal. She misses teaching, so her blog is in a sense a virtual classroom.
Disclosure: this article may contain affiliate links or other forms of sponsored content. Opinions are 100% the author's. Full disclosure policy.


4 Comments
Michelle L
Adorable!!!!